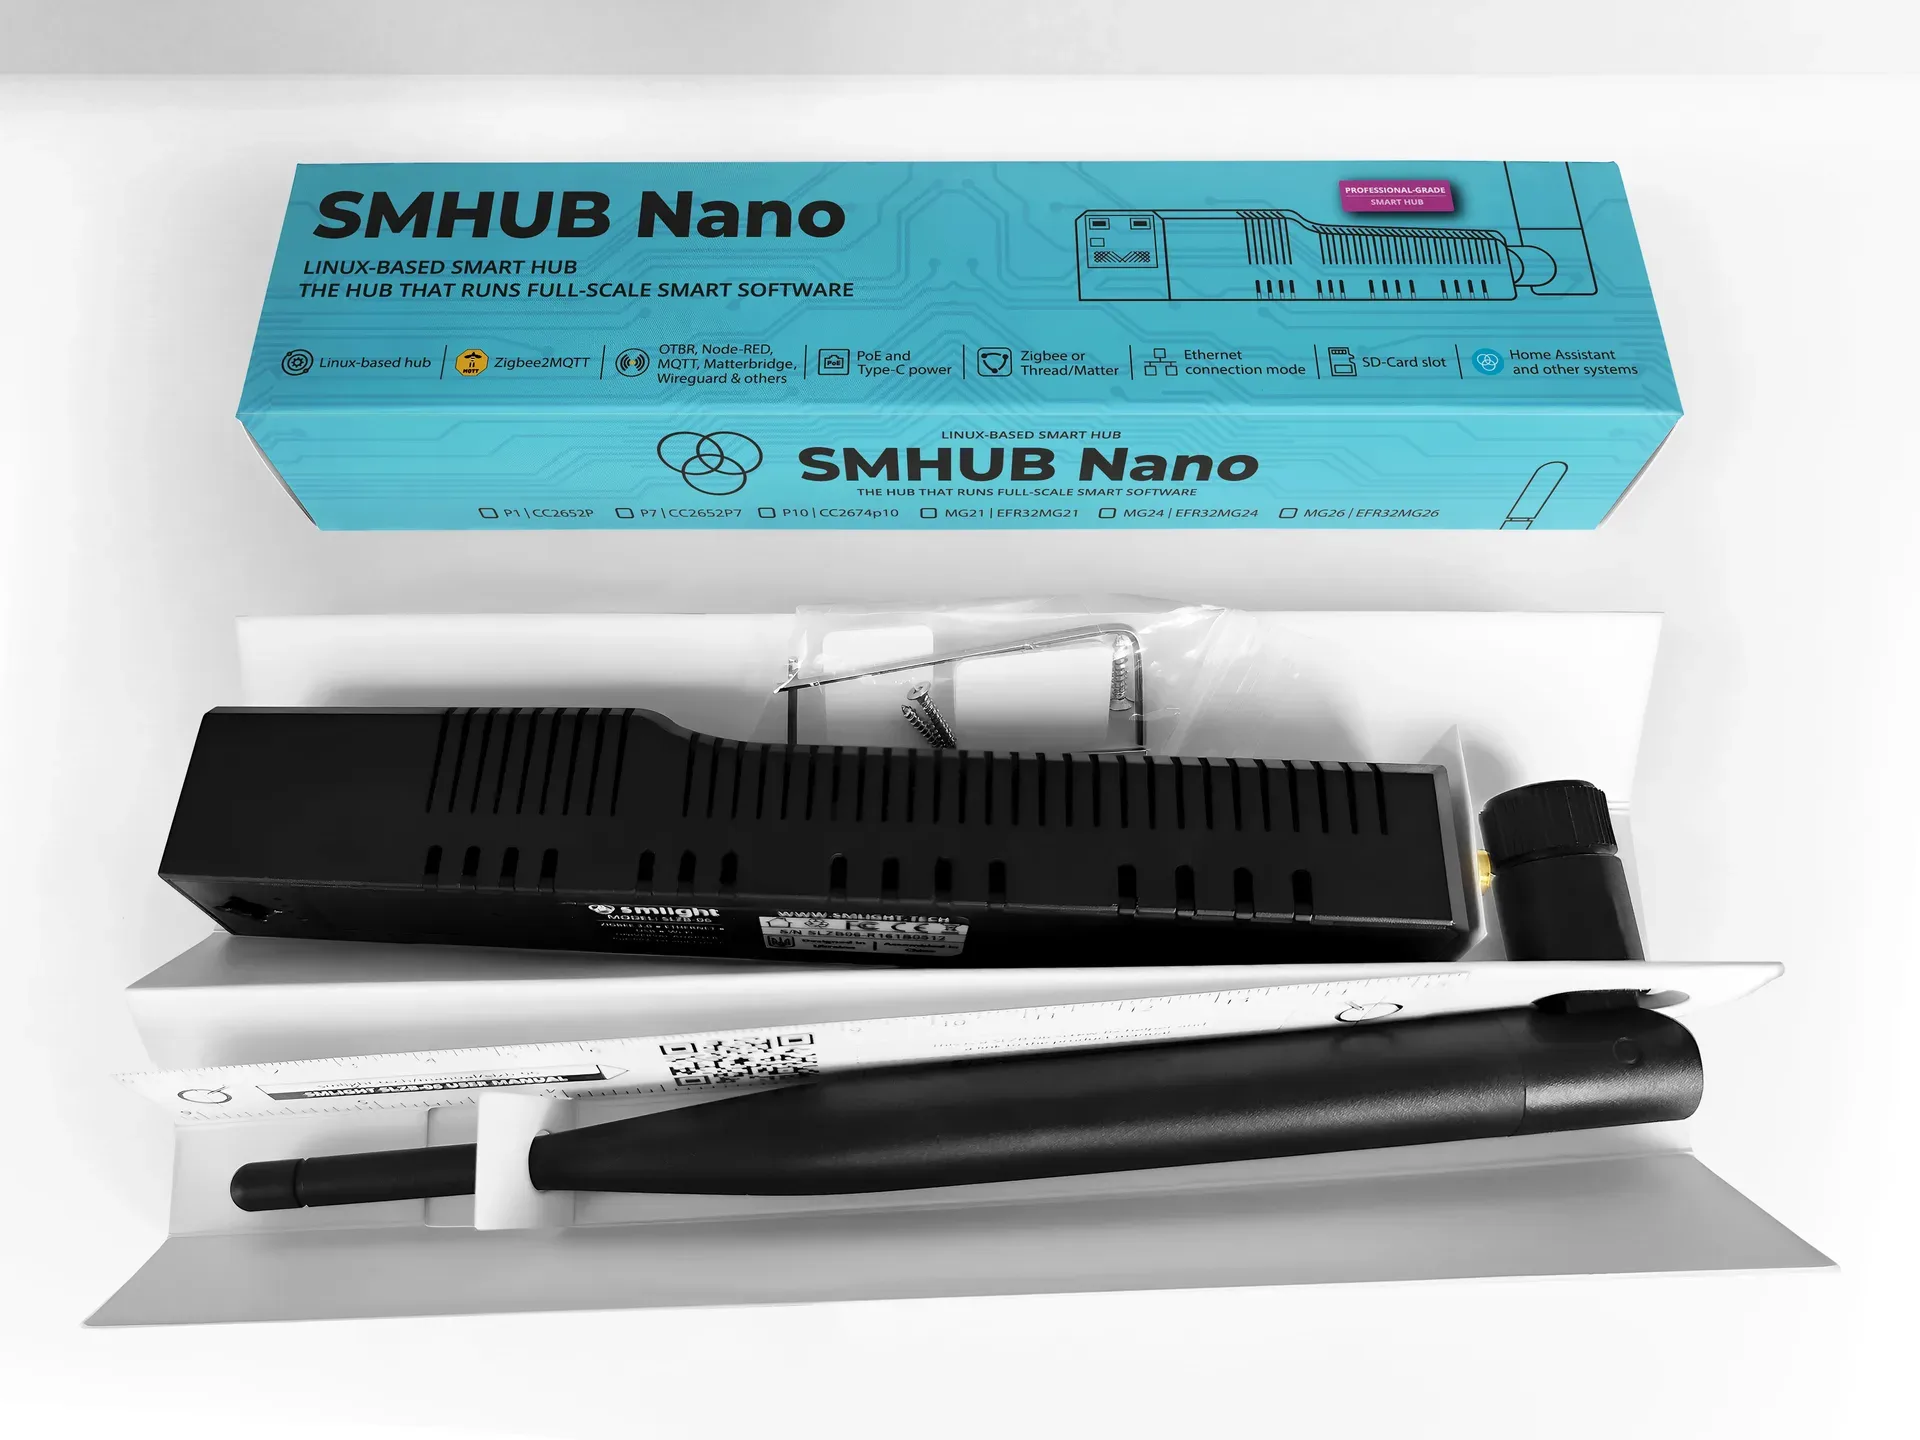
SMHUB Nano.
The hub that runs software.
A professional-grade control hub running a Linux-based system that hosts real apps locally — Zigbee2MQTT, an MQTT broker, WireGuard, Matterbridge, Node-RED and more. Multi-radio, expandable and fully local, in a compact fanless enclosure.
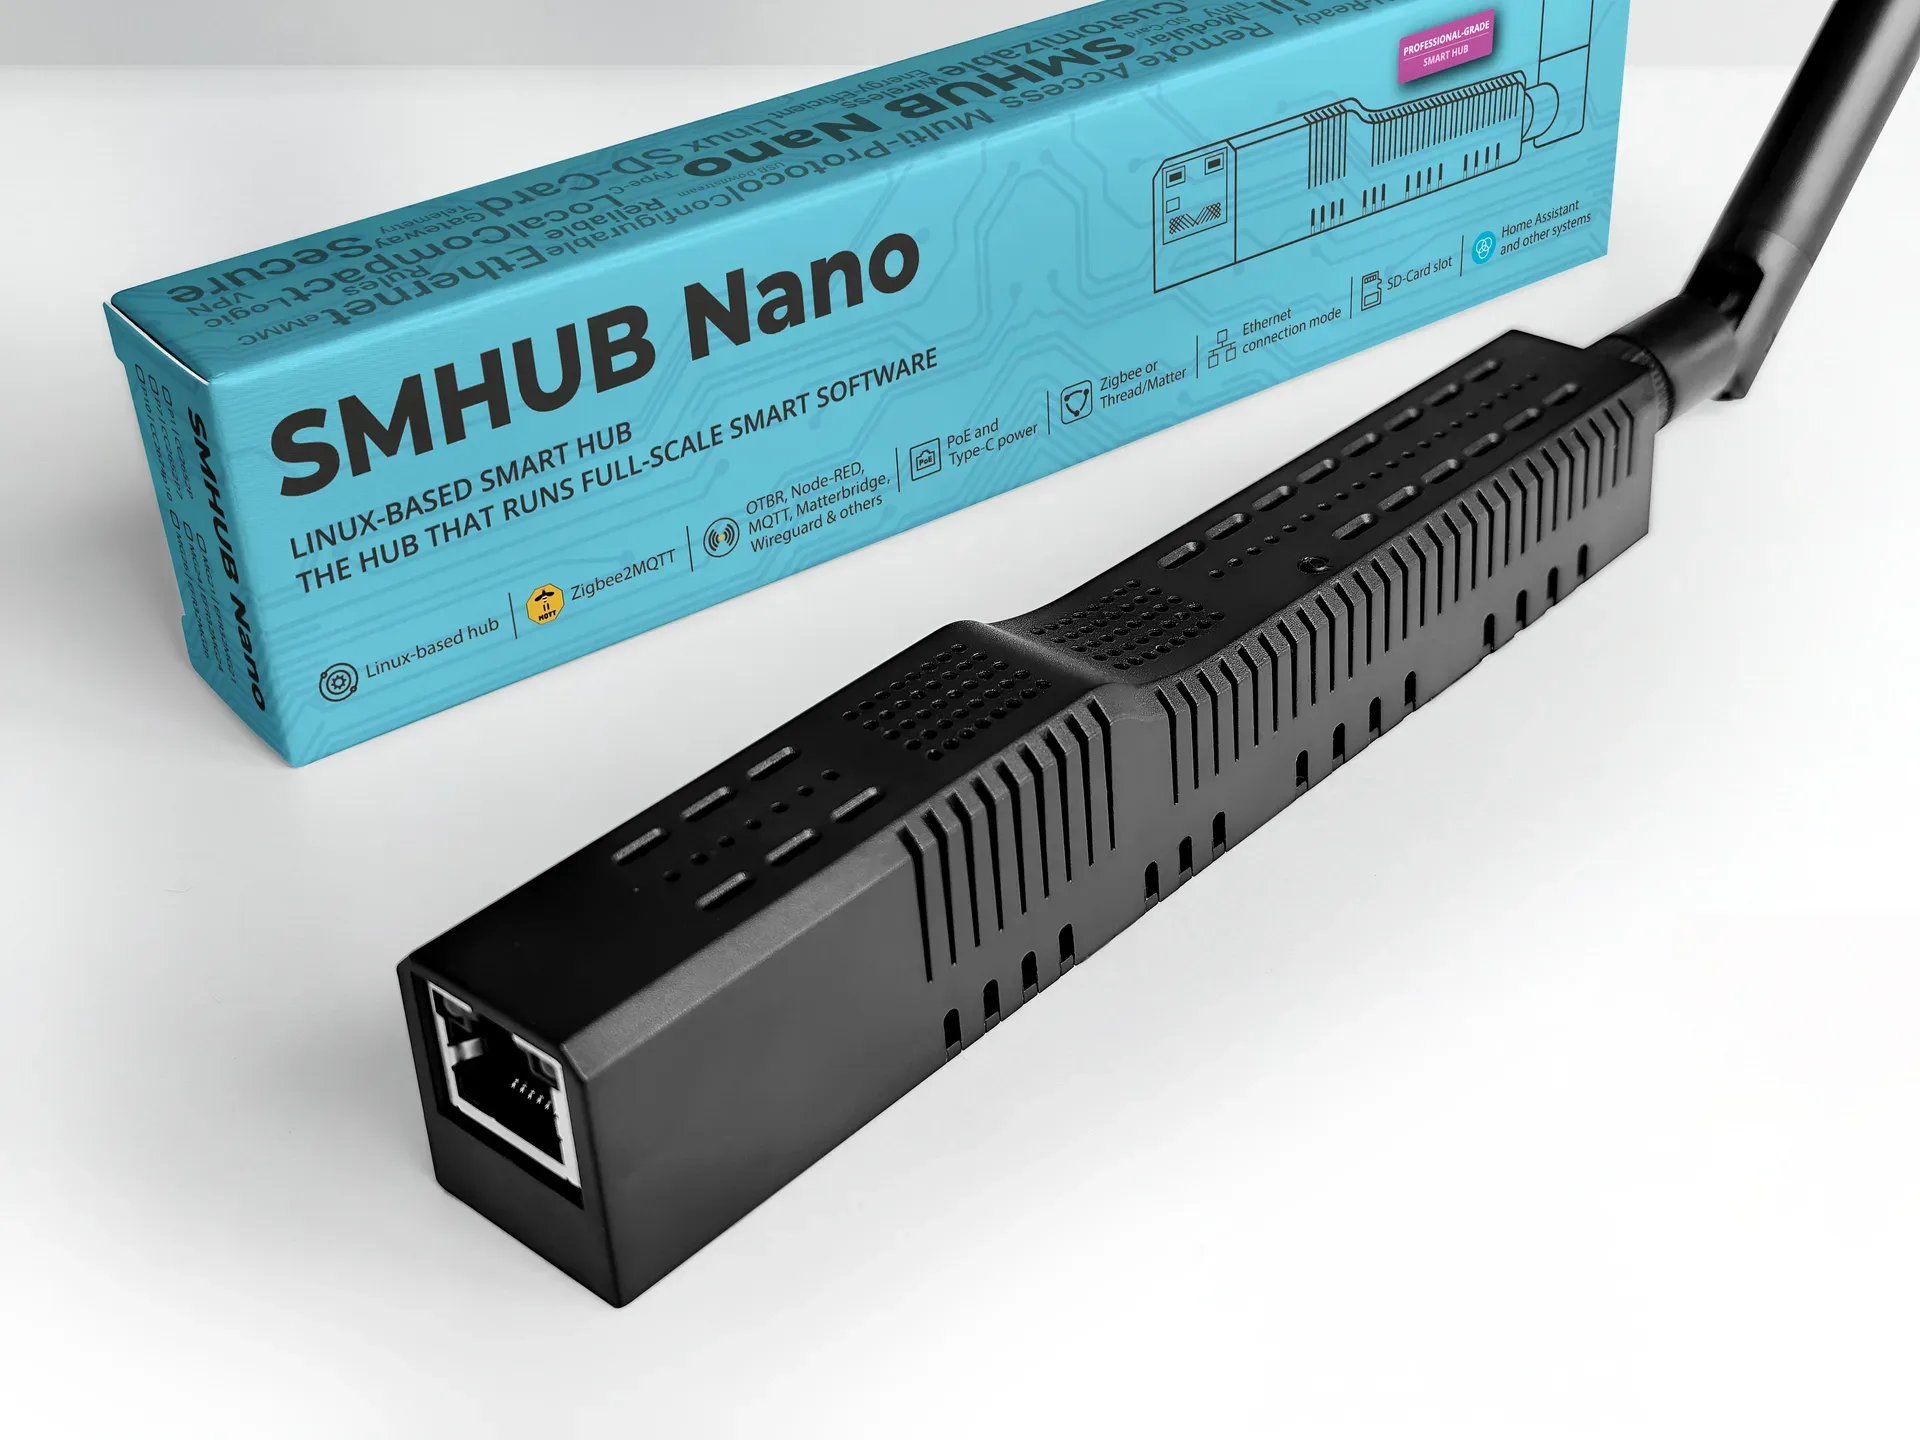
A tiny hub that does a lot.
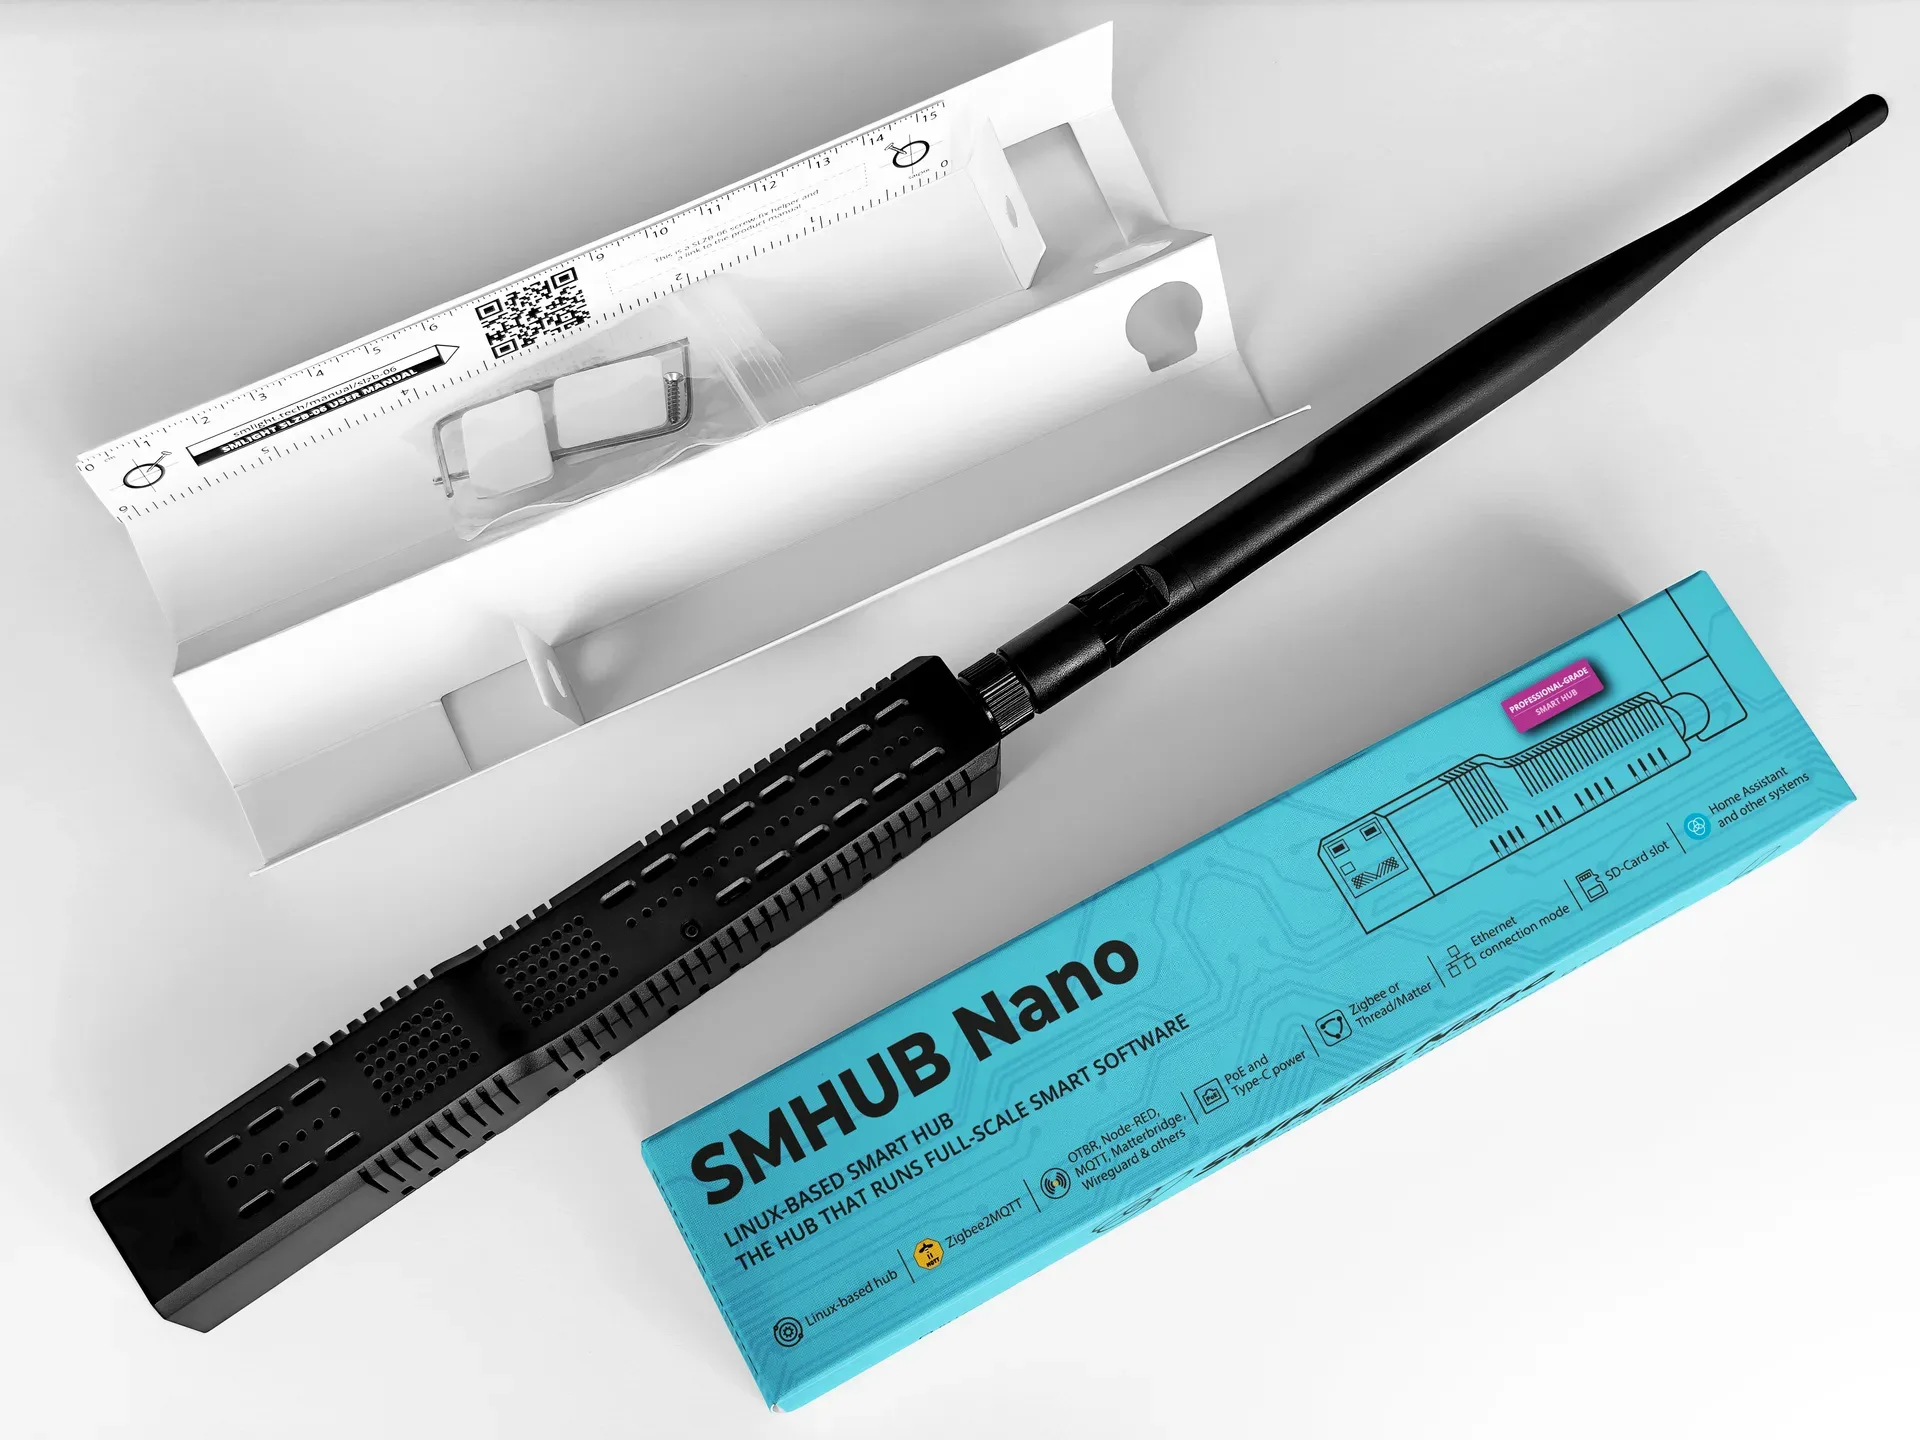
SMHUB Nano combines multiple radios, a real Linux OS and local apps in one compact device — so it can be a full smart-home brain, a Matter bridge, or a dependable coordinator.
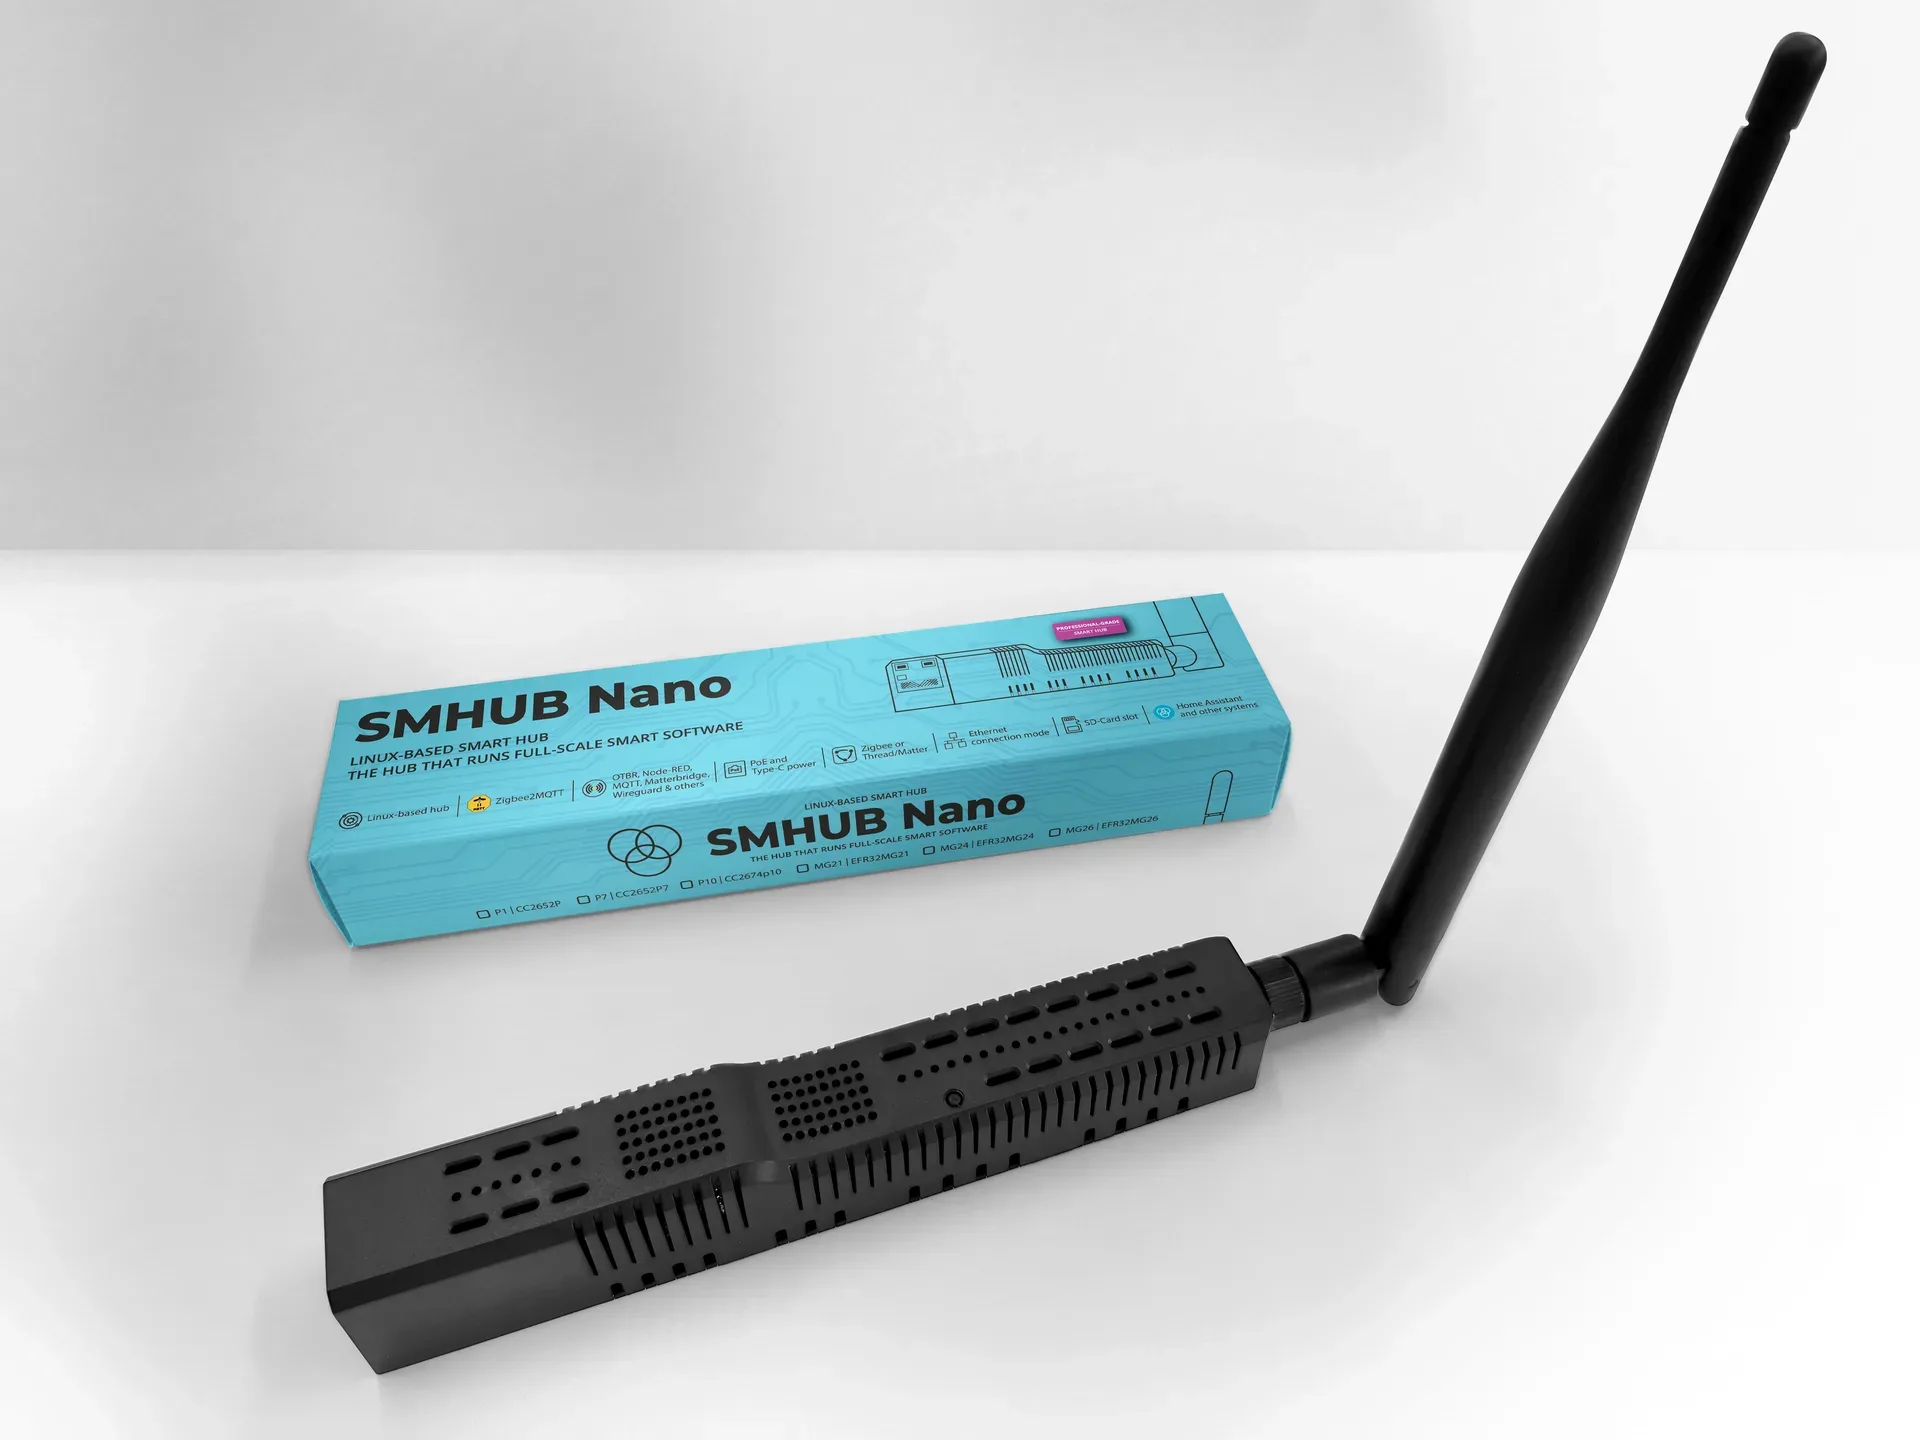
One hub, your way.
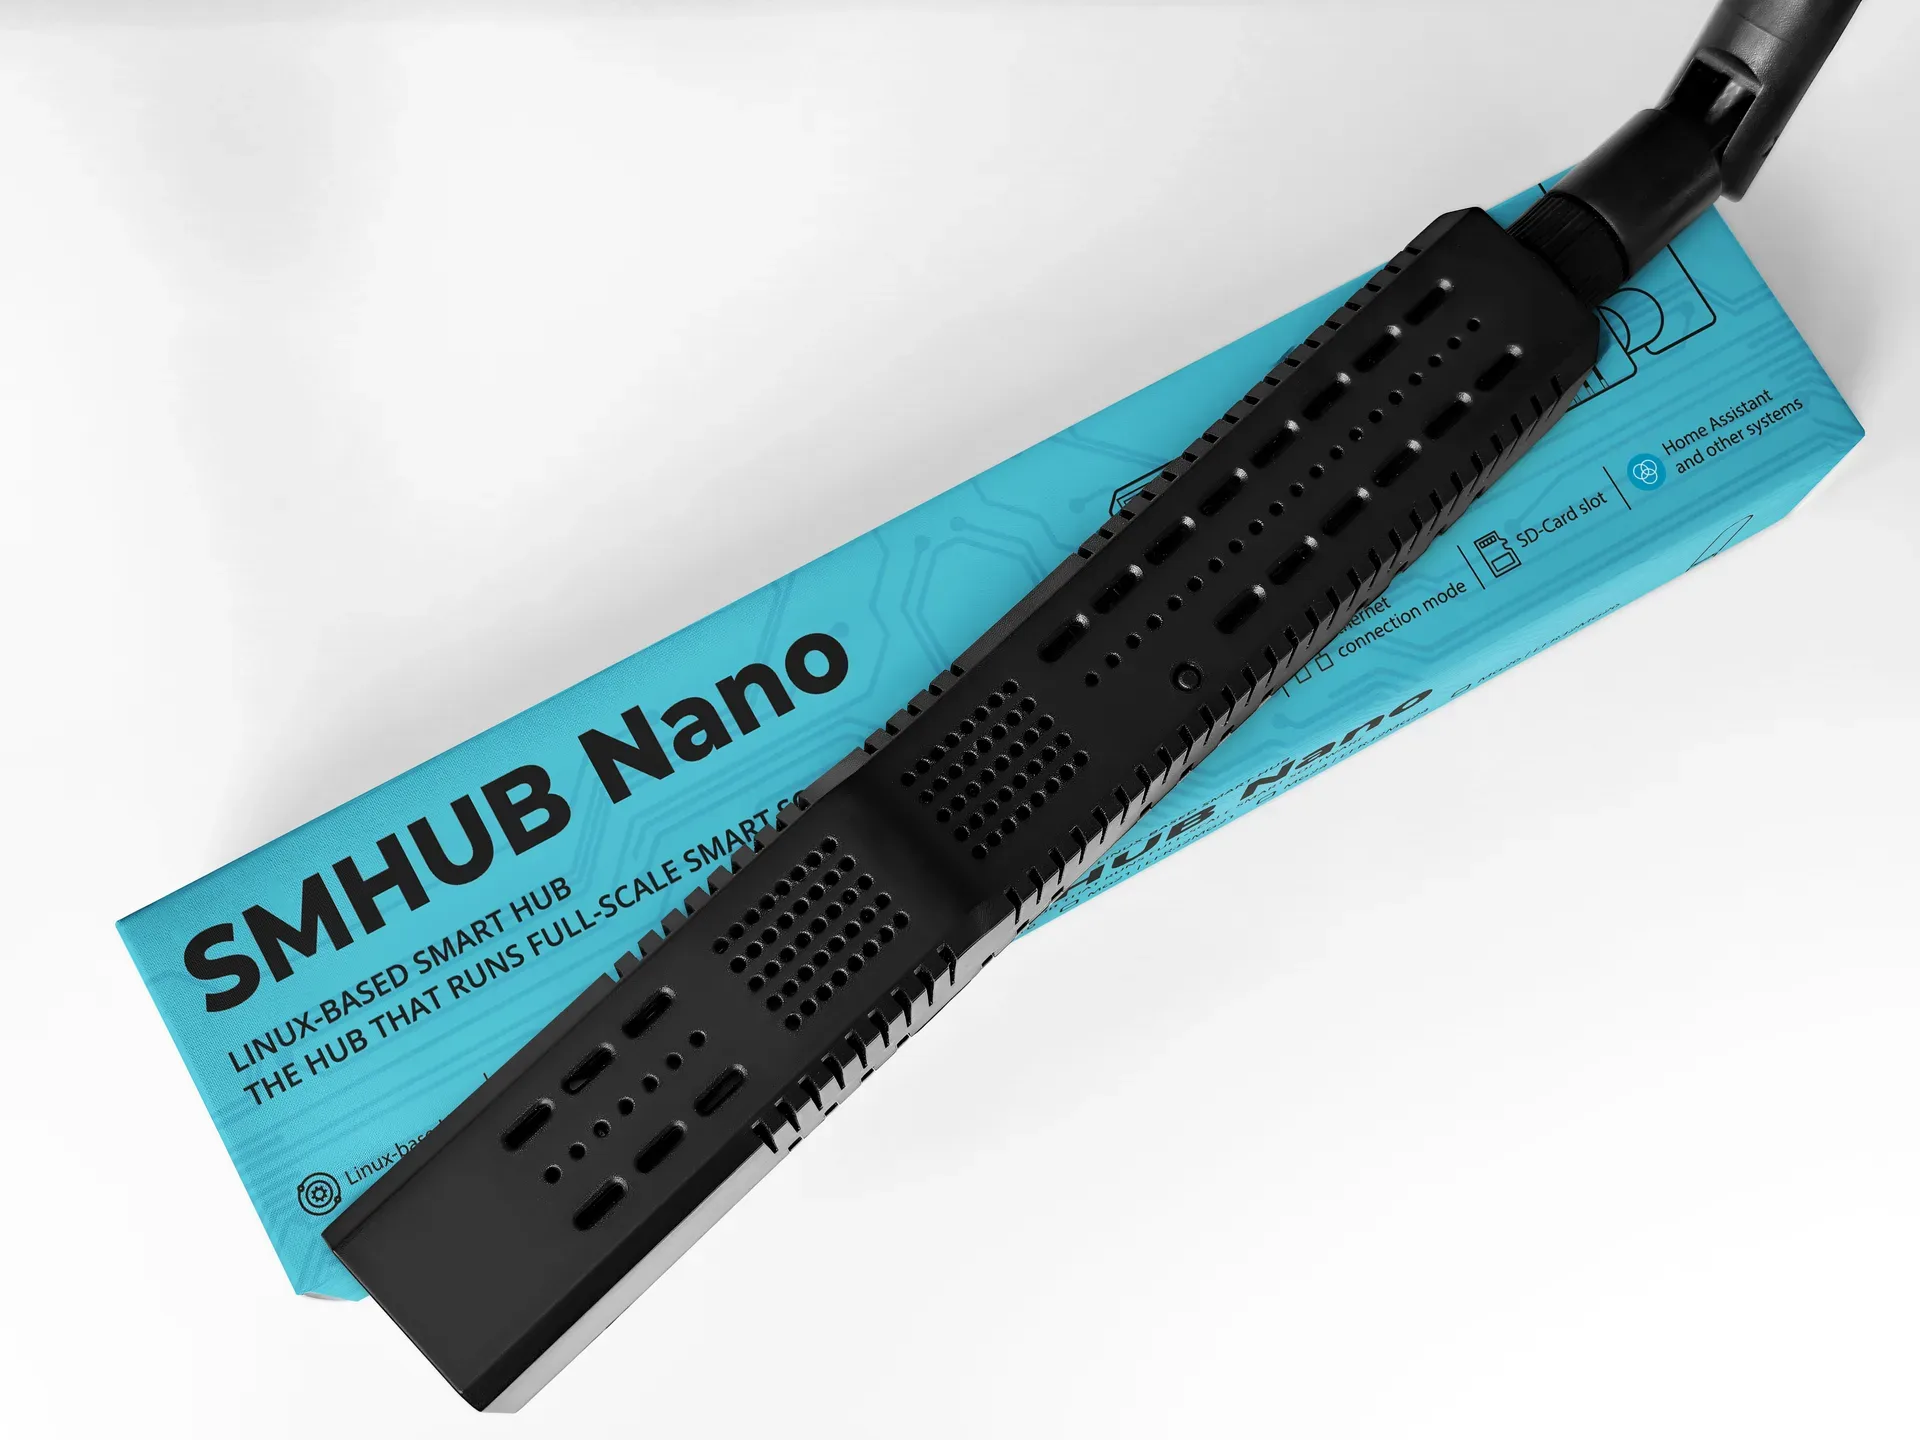
See it up close.
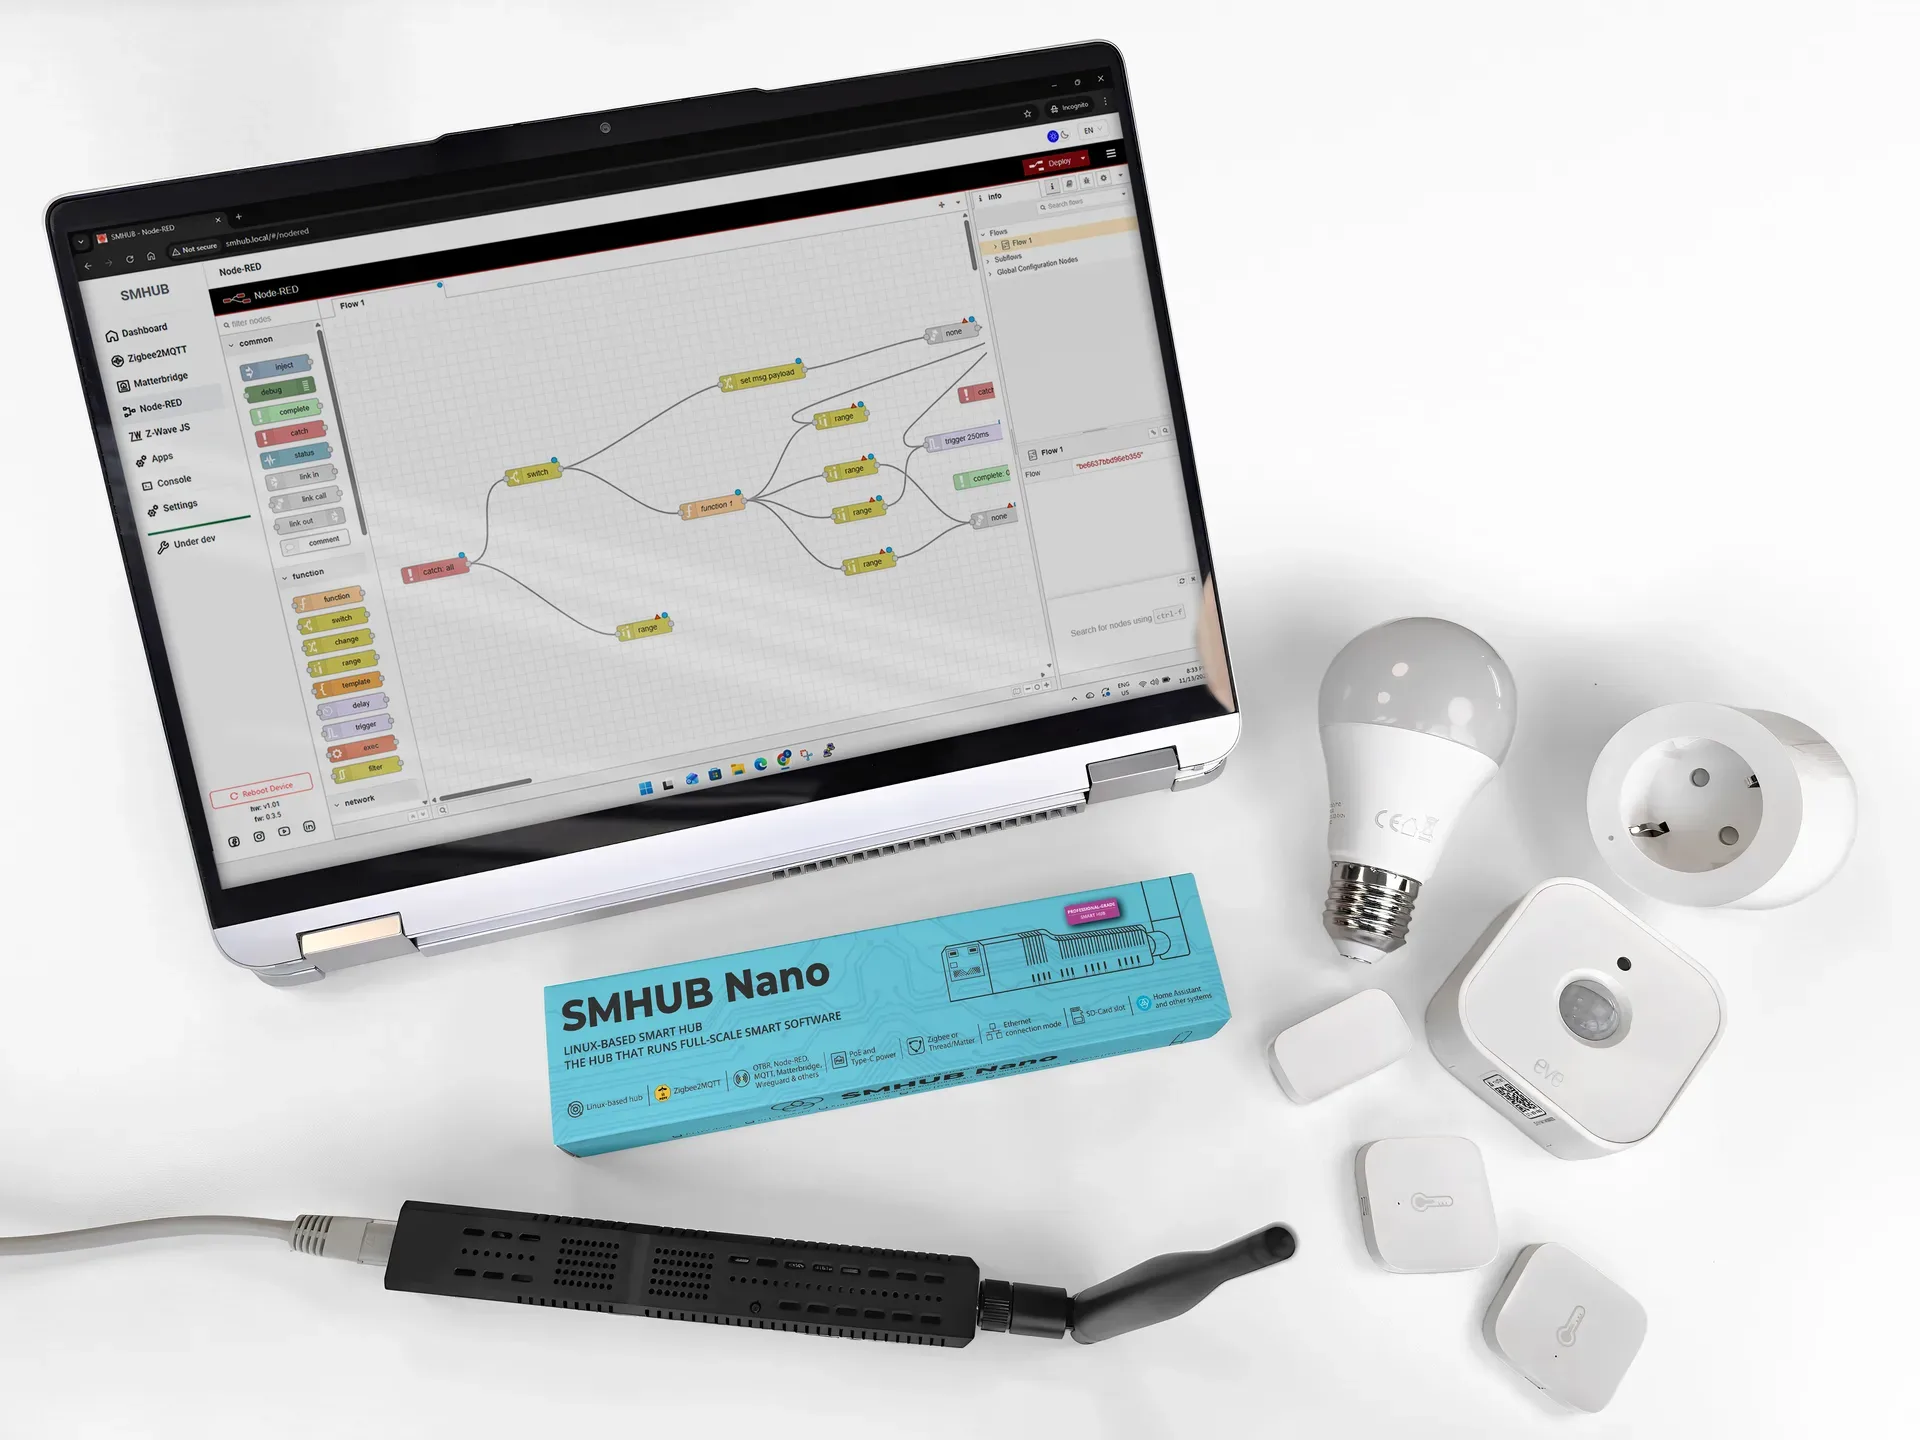
A full smart-home stack, running locally.
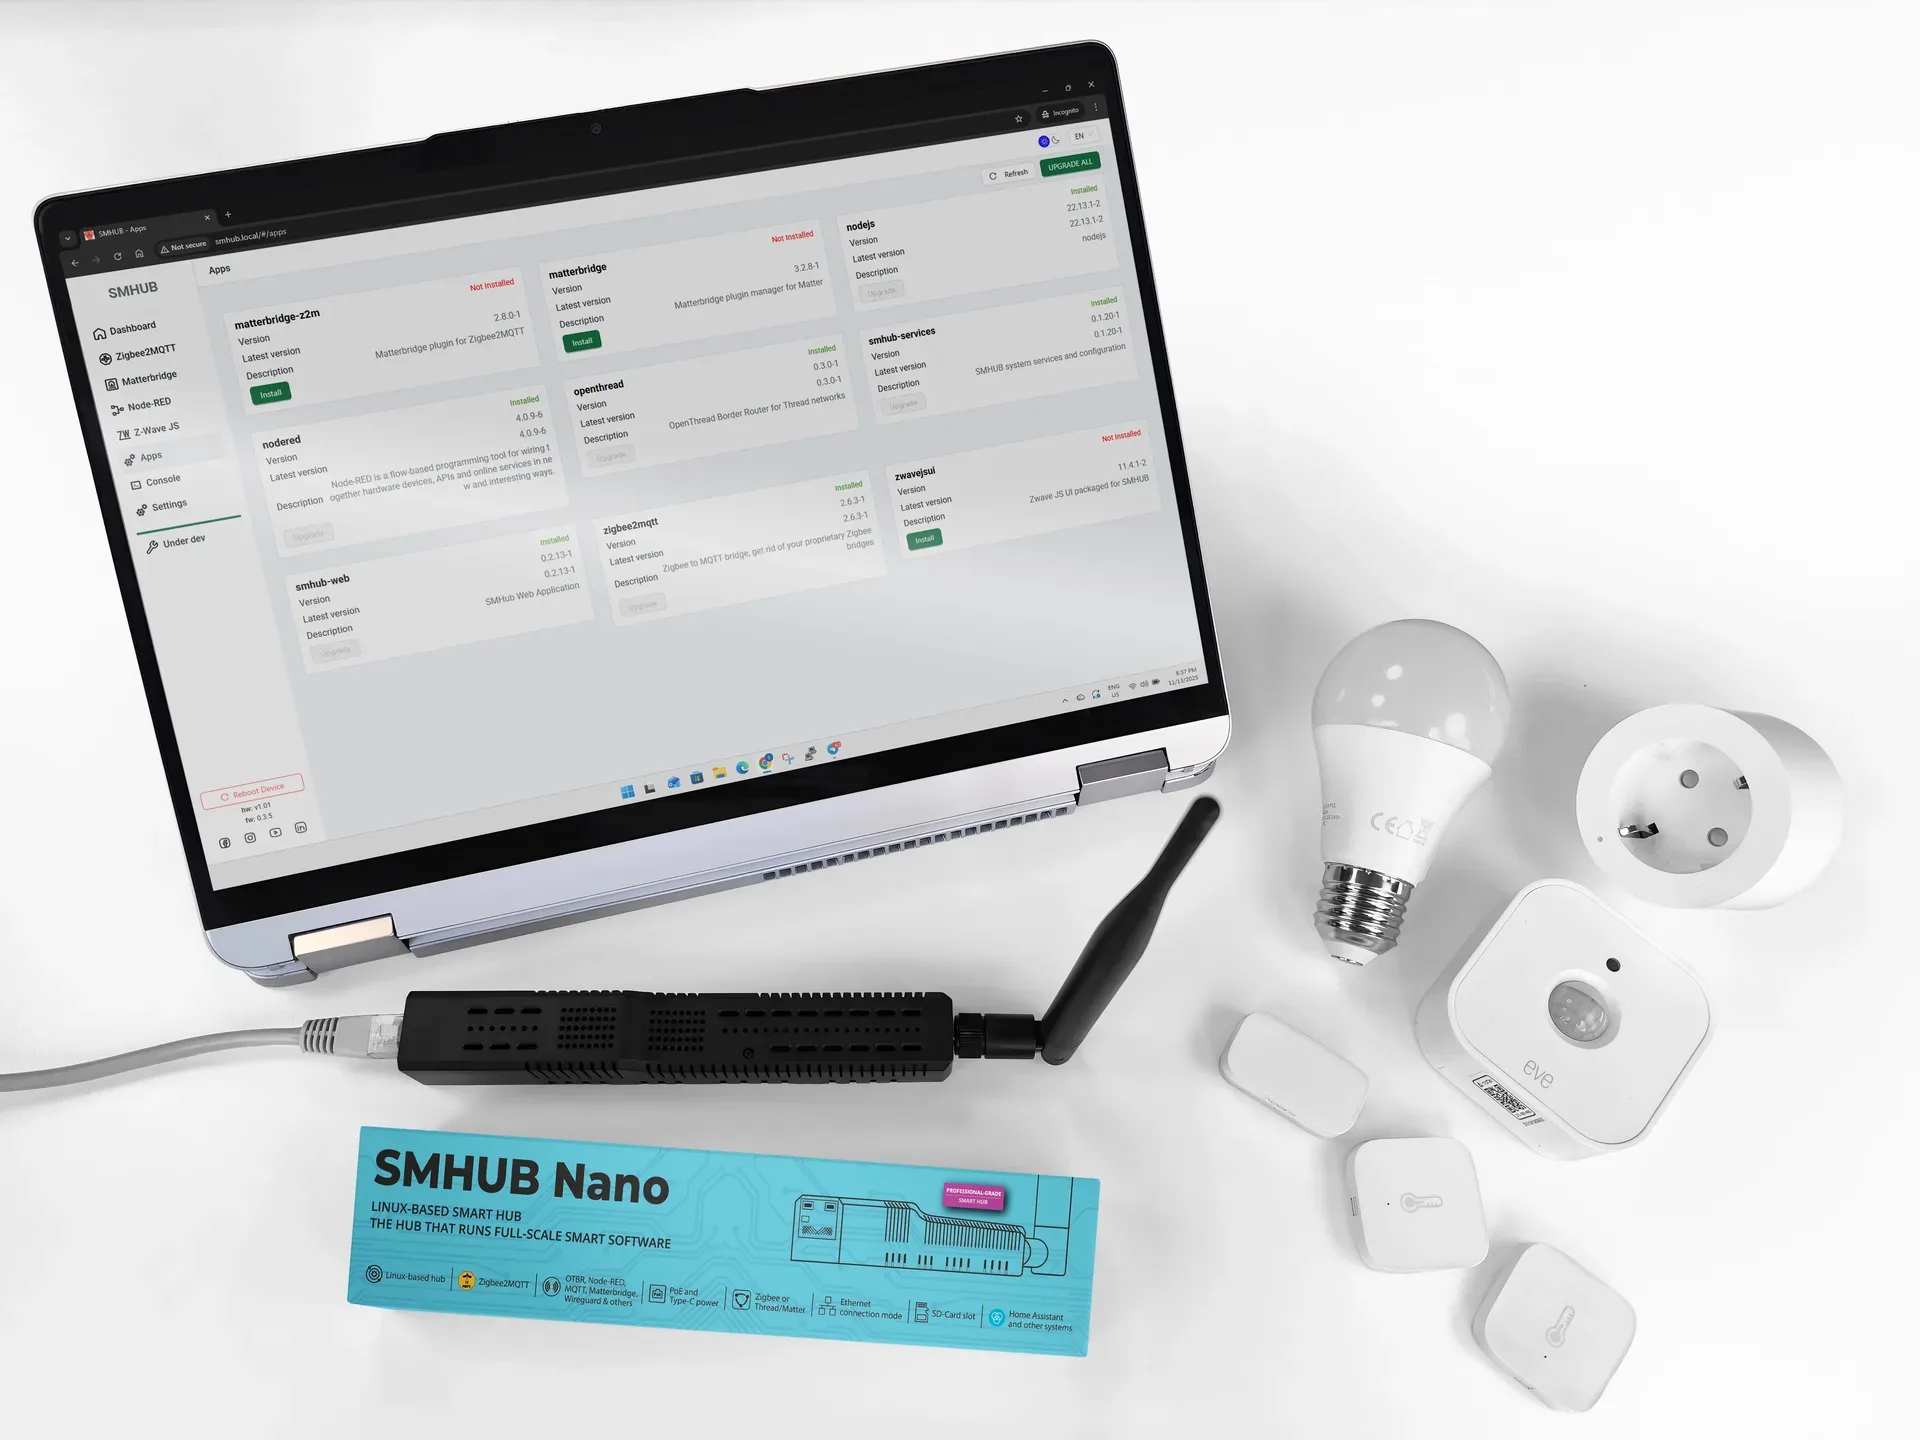
Each capability runs as a local app on the hub. Here's what you can do — and how the pieces connect.
Pair your Zigbee devices to the Nano and run Zigbee2MQTT on the device itself, then connect it to Home Assistant. Connect directly to Home Assistant’s MQTT broker for a fast, simple setup, or run the Nano’s own broker in bridge mode so Zigbee2MQTT keeps running and reconnecting under almost any circumstances.
- Direct connection — fast and easy to set up
- MQTT bridge mode — practically unstoppable
- A drop-in Zigbee coordinator when you prefer
Matterbridge runs directly on the Nano, reads the devices paired through Zigbee2MQTT and exposes them as Matter devices on your local network. Scan the pairing QR code in your Matter app and your Zigbee gear shows up in ecosystems that don’t normally speak Zigbee.
- Use Zigbee devices in Google Home, Apple Home or Alexa
- Mix Zigbee and Matter devices in one setup
- Cross-ecosystem compatibility, all local
Node-RED runs as a local app on the Nano. It reacts to events from Zigbee2MQTT, MQTT, timers or other local services and sends commands back — so your logic executes on the device, with low latency and no cloud dependency. It keeps working even if Home Assistant is down.
- Run automations without Home Assistant
- Fast-response rules for lights, sensors and buttons
- Combine Zigbee devices, timers and external APIs
The Nano can act as a Thread Border Router (OTBR), bridging Thread and IP networks so Thread and Matter-over-Thread devices talk to Home Assistant. Add several Nanos as separate border routers to one Home Assistant instance and they form a single Thread mesh across floors, buildings or sites.
- Enables Matter-over-Thread devices
- Keeps Thread routing local and fast
- Multiple border routers → one big, reliable mesh
The Nano is built to scale. Connect several units to a single Home Assistant instance — or to another SMHUB acting as the master — even across different networks or locations via WireGuard. Give each hub a unique Zigbee2MQTT base topic and grow coverage without adding complexity to the controller.
- Cover a large home, office or multiple buildings
- Remote sites joined over an encrypted tunnel
- One control plane — every device in one UI
With USB Host mode (hardware revision 0.98+) and a powered USB hub, the Nano takes Z-Wave sticks, extra Zigbee/Thread radios, 4G/LTE modems and other USB peripherals. Install Z-Wave JS UI, plug in a ZWA-2 dongle, and run a full Z-Wave network locally — then expose it to Home Assistant.
- Run Z-Wave locally with a ZWA-2 dongle
- Add extra radios or an LTE modem
- Mixed-protocol setups on one device
Local-first, by design.
Every number.
| Core system | Value |
|---|---|
| CPU | 2 cores · 1 GHz + 700 MHz |
| RAM | 512 MB |
| Storage | 8 GB eMMC |
| microSD | Supported, up to 2 TB |
| OS | Linux kernel · modular app support |
| Power | USB-C (power & upstream) · optional PoE module · optional UPS connector |
| Wireless radios | Value |
|---|---|
| Zigbee / Thread | EFR32MG24 (Nano MG24) or CC2652P7 (Nano P7) |
| Wi-Fi | Wi-Fi 6 · 2.4 GHz & 5 GHz |
| Bluetooth | Integrated BLE 5.0 |
| Antennas | Value |
|---|---|
| Zigbee | External antenna (5 dB) |
| Wi-Fi | Integrated IPEX, expandable 5 dB |
| Bluetooth | Integrated IPEX, expandable 5 dB |
| Networking | Value |
|---|---|
| Ethernet | 1 × RJ45 (10/100 Mbps) |
| Wi-Fi | Wi-Fi 6 · 2.4 / 5 GHz |
| VPN | WireGuard, etc. |
| Local hosting | Zigbee2MQTT · Matterbridge · Node-RED · Mosquitto |
| I/O & connectivity | Value |
|---|---|
| USB | 1 × USB-A (downstream) |
| User control | 1 × button + 2 × service LEDs |
| Physical & environmental | Value |
|---|---|
| Dimensions | Compact desktop enclosure |
| Mounting | Desk or wall-mount (with accessories) |
| Operating temp | 0 – 50 °C |
| Cooling | Passive · silent · fanless |
| Software & integrations | Value |
|---|---|
| Package type | Linux-based packages |
| Pre-installed apps | Zigbee2MQTT · Matterbridge · Mosquitto · Node-RED · WireGuard · Node.js |
| App management | Web UI |
| Firmware | OTA updates supported |
| Security | Local-first · encrypted connections |
Where the Nano fits.
| SMHUB Nano | SLZB-06x | SLZB-MRx | |
|---|---|---|---|
| Role | Linux control hub with local apps & rich peripherals | Ethernet/Wi-Fi Zigbee or Thread coordinator (triple-radio) | Advanced multi-radio coordinator (quad-radio) |
| Operating system | Linux-based — runs apps & services | SLZB-OS — no app install | SLZB-OS — no app install |
| Apps & services | Zigbee2MQTT, Matterbridge, Node-RED, Mosquitto, WireGuard… | External apps not supported | External apps not supported |
| Radios | Zigbee, Thread, BLE, Wi-Fi on board | Zigbee/Thread + Wi-Fi + BT | Zigbee + Thread + Wi-Fi + BT |
| Best for | Business, integrators, pros, future-proof enthusiasts | Smart-home builders & DIY enthusiasts | Demanding users needing a multi-radio coordinator |
| SMHUB | Raspberry Pi + USB | All-in-one hubs | |
|---|---|---|---|
| Setup | Out-of-box, pre-configured with apps & UI | Manual OS install, add-ons, USB-stick setup | Out-of-box |
| Multi-radio | Multiple on-board radios | Wi-Fi & BT only — needs USB sticks for more | Usually fixed radios, not modular |
| Integration | Zigbee2MQTT, Node-RED, Matterbridge, WireGuard… | Possible but manual, usually command-line | Usually limited to the vendor ecosystem |
| Openness | Linux inside | Fully open, best-in-class DIY community | Often closed |
| Audience | Corporate, professionals, advanced enthusiasts | DIY makers & hobbyists | Consumers wanting simplicity |
SMHUB bridges the gap between dedicated coordinators, DIY setups and closed consumer hubs — enterprise reliability, modular expandability and openness in one device.
Common questions.
What is SMHUB?
A professional-grade smart control hub running a Linux-based system. It supports Zigbee, Thread, Wi-Fi 6 and Bluetooth radios, Ethernet, USB and PoE, and is designed to host open-source apps like Zigbee2MQTT, Matterbridge, Node-RED, Mosquitto MQTT and WireGuard locally.
Can it work as both a hub and a coordinator?
Yes. It can run apps locally as a standalone hub, or act as a coordinator only — the hardware manages the radios while control software runs elsewhere. It can also expose Zigbee devices to any Matter ecosystem via Matterbridge.
Which platforms does it support?
It works with Home Assistant, OpenHAB, HomeSeer and other systems that speak Zigbee2MQTT or MQTT. Thanks to its Linux base it integrates with most open-source ecosystems, and Matterbridge lets it expose devices to Google Home or Apple Home.
Can I use it without an internet connection?
Yes — it runs fully offline for local automation. Internet is only needed for cloud services or remote access. Build automations with Zigbee2MQTT + Node-RED, expose devices via Matterbridge, or use it with Home Assistant or OpenHAB — all locally.
How do I configure it?
Through the web interface, where you install and manage apps like Zigbee2MQTT or Node-RED. Connect it to your network and open https://smhub.local in your browser.
Does it support Matter?
Yes — through Matterbridge, it bridges Zigbee devices into Matter ecosystems such as Google Home or Apple HomeKit.
Can it be updated to enable more features?
Yes. Firmware and software updates gradually unlock more peripherals and functions, and we publish changelogs with each release.
What makes it different from other hubs?
It’s a professional, future-proof hub: multiple radios (Zigbee + Thread + Wi-Fi + Bluetooth), a Linux-based OS for stability and flexibility, local hosting of popular open-source apps, and expandable hardware with multiple I/O options.
Do I need technical knowledge to use it?
Basic setup is straightforward through the web interface. Advanced users can go further — from hardware (USB/UART/SPI/I²C) to software customization.
Get your SMHUB Nano.
Ships worldwide from our web stores and distributor network. Buying for a project or in volume? Our sales team is one email away.