Your air conditioner, on everything.
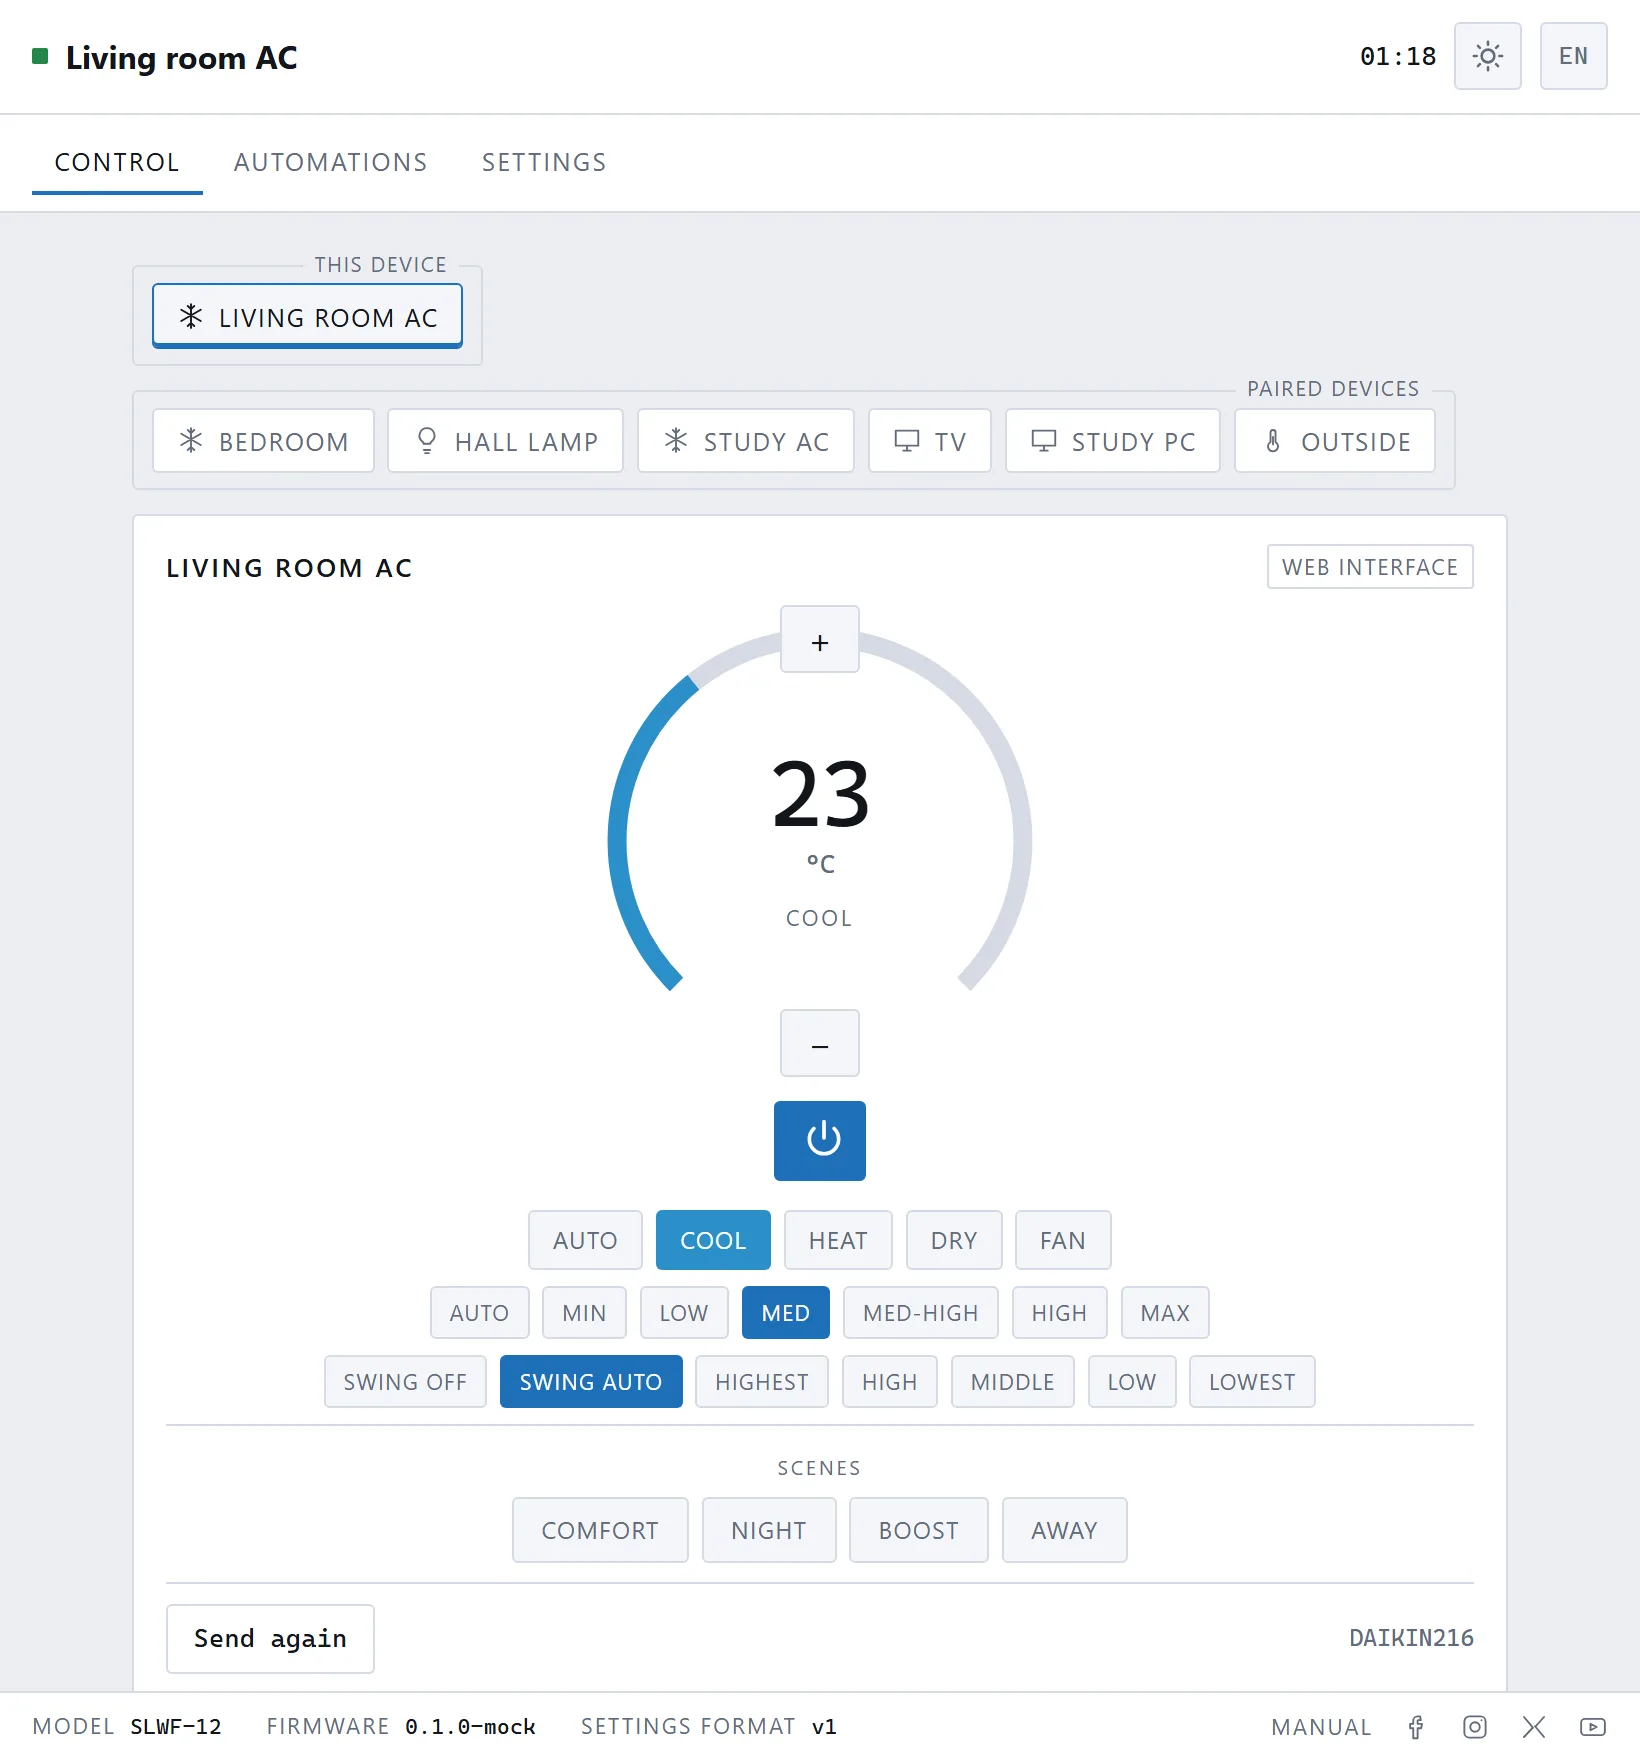
AC Bridge is optional firmware for the SLWF-12. It already speaks the protocols of the major air-conditioner brands, and puts the unit on a phone, on Home Assistant, on Telegram or on rules that run on the device itself — with the original handset staying in sync. We wrote it as a side project to put the board through its paces, and publish it as a base to build on.
Daikin, Mitsubishi, Gree, Panasonic, Samsung, LG, Toshiba and thirty-odd more are built in — 62 protocol variants the bridge composes commands from, so most units work as soon as you pick the make. Anything unusual can still be taught from its own remote.
It announces itself over MQTT discovery as a climate entity, with a signal-strength sensor, runtime counters and a resend button. Nothing to hand-write.
Somebody picks up the handset; the bridge hears the command, decodes it and updates every other client. What you see is what the unit was actually told.
Drive it from Telegram, from its own web page, or from schedules, scenes and automations that run on the device — no hub, no broker, nothing else to install. They keep running when the network does not.
One bridge, many ways in.
Sixty-two protocols, thirty-eight makers
The protocol knowledge comes from the IRremoteESP8266 library — 62 air-conditioner protocol variants across 38 manufacturers, which the bridge uses to build commands rather than replay recordings. That is the fast path, not a compatibility list: anything unrecognised falls through to the sweep and then to raw learning.
Falls back gracefully
Unknown protocol? It sweeps every protocol it knows, asking whether the unit reacted. Still nothing? It records raw captures state by state, walking you through each one.
Many clients, one command bus
Web UI, REST, MQTT, Telegram, UART, schedules and the hardware button all pass through the same internal bus — and each can be switched off individually.
Scenes and automations
Named one-tap presets, plus visual IF/THEN rules across every paired device with hold times, wait steps, else branches and a runaway guard.
Control from Telegram
A bot puts the air conditioner in your pocket — power, mode, temperature and scenes as buttons in a chat, with no home-automation server anywhere in the picture. The first person to press /start becomes the owner and the door closes behind them.
Sunrise and sunset, computed locally
Worked out on the device from a latitude and longitude — no network call, and it agrees with NOAA’s own algorithm to within a minute.
Talks to your other devices
Other SLWF units, WLED controllers, ESPHome devices, Wake-on-LAN targets and JSON sensors — all described by a data file rather than by code.
Off by default
Every integration ships switched off. The device opens no outbound connection until somebody presses a button that says it will.
Light and dark
The interface follows the system theme by default, and either can be pinned. Multilingual, with English and Ukrainian included.
Three steps, done.
- 1Flash it
Download the firmware from GitHub and put it on the board with whichever flashing tool you prefer. The SLWF-12 carries its USB/UART converter on board, so a USB cable is all the hardware you need — no programmer.
- 2Join it to Wi-Fi
On first boot it raises an access point called “SLWF-12 setup” and the captive portal opens by itself. Pick your network and it is reachable at slwf12-<id>.local.
- 3Pick your air conditioner
Most units are already in the built-in protocol list, so choosing the make is usually the whole job and it works from there. If yours is unusual, teaching it from its own remote is available — but it is the exception, not the routine.
- 4Connect it to things
Point it at your MQTT broker and the thermostat appears in Home Assistant by itself. Telegram takes a bot token, and the first person to say /start becomes the owner.
See it in action.
The essentials.
- Runs on
- SLWF-12 (ESP8266 · ESP-12F)
- AC protocols
- 62 variants addressable via IRremoteESP8266 v2.9 · raw capture as fallback
- Recognised makes
- Airton · Airwell · Amcor · Argo · Bosch · Coolix · Corona · Daikin · De’Longhi · Eurom · Fujitsu · Goodweather · Gree · Haier · Hitachi · Kelon · Kelvinator · LG · Midea · Mirage · Mitsubishi · Mitsubishi Heavy · Neoclima · Panasonic · Rhoss · Samsung · Sanyo · Sharp · TCL · Technibel · Teco · Toshiba · Transcold · Trotec · Truma · Vestel · Voltas · Whirlpool
- Anything else
- Not a compatibility list — an unrecognised unit is swept protocol by protocol, then learned as raw codes from your own handset
- Clients
- Web UI · REST · MQTT · Telegram · UART · schedules · hardware button
- Home Assistant
- MQTT discovery — climate, scene select, sensors, resend button
- On-device
- Daily rules, countdowns, scenes, sunrise/sunset, runtime counters
- Languages
- English · Ukrainian, with light and dark themes
- Updates
- Web upload · OTA · plain-HTTP URL
- Status
- v0.1.0 · a side project we keep developing — yours to fork and extend
Ready to dive in?
AC Bridge is optional firmware for the SLWF-12. It already speaks the protocols of the major air-conditioner brands, and puts the unit on a phone, on Home Assistant, on Telegram or on rules that run on the device itself — with the original handset staying in sync. We wrote it as a side project to put the board through its paces, and publish it as a base to build on.
AC Bridge started as a side project — something real to exercise the SLWF-12 with — and we publish it as a starting point: take it as a base, change what you need, build something else on top. It is also entirely optional: the firmware you put on an SLWF-12 is your choice — AC Bridge, an ESPHome build of your own, or anything else written for the ESP8266. Nothing here arrives pre-installed. Flashing replaces whatever firmware is on the board, and reflashing the filesystem image clears learned codes and Wi-Fi credentials.