🧰 Manual for Testers: Setting Up Z-Wave JS UI in Home Assistant
Z-Wave JS UI is a powerful Z-Wave Home Assistant integration with a full web interface for network management. It's ideal for advanced users who want full control.
Purposes of each component:
- Z-Wave JS UI addon - this addon manages Z-Wave network from Home Assisntant.
- Z-Wave Integration - Z-Wave device management app. It uses add-on as intermediary part for communication between Home Assistant and Z-Wave devices.
1️⃣ Install the Z-Wave JS UI Add-on
📦 Step 1: Add the Add-on Repository
-
Go to Settings → Add-ons in Home Assistant.
-
Click “Add-on Store”.
-
Click the menu (⋮) in the top right → Repositories.
-
Paste the repository URL:
https://github.com/hassio-addons/addon-zwave-js-ui -
Click Add, then close the dialog.
🧪 Step 2: Install Z-Wave JS UI
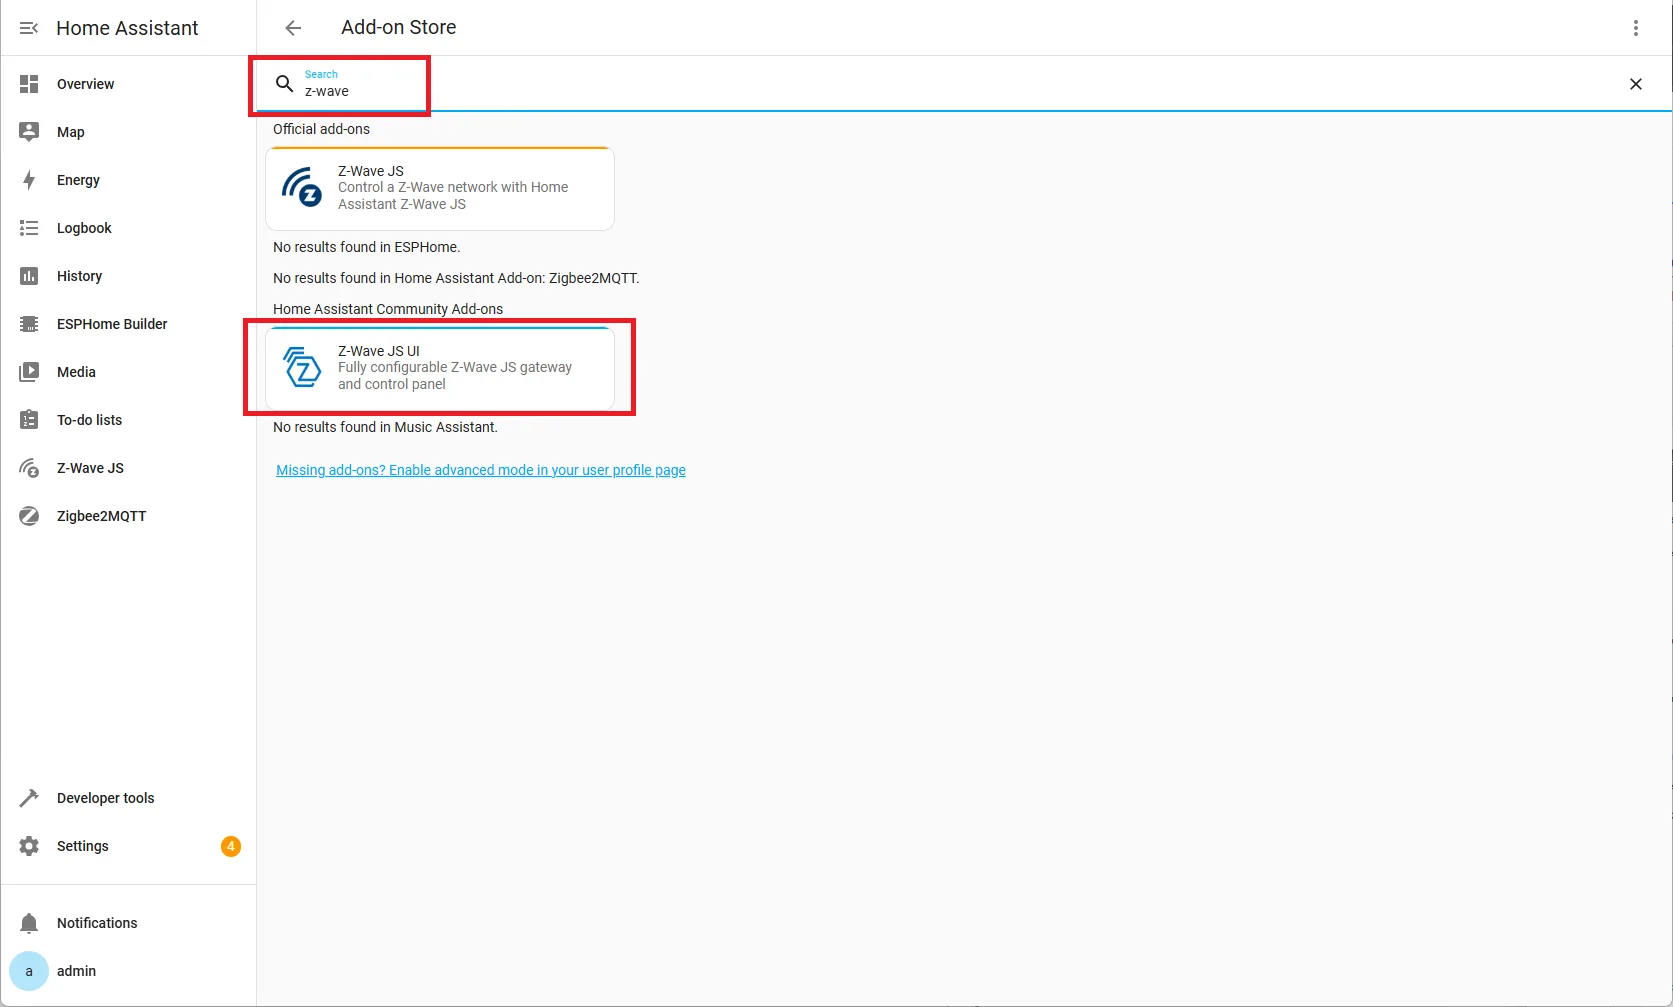
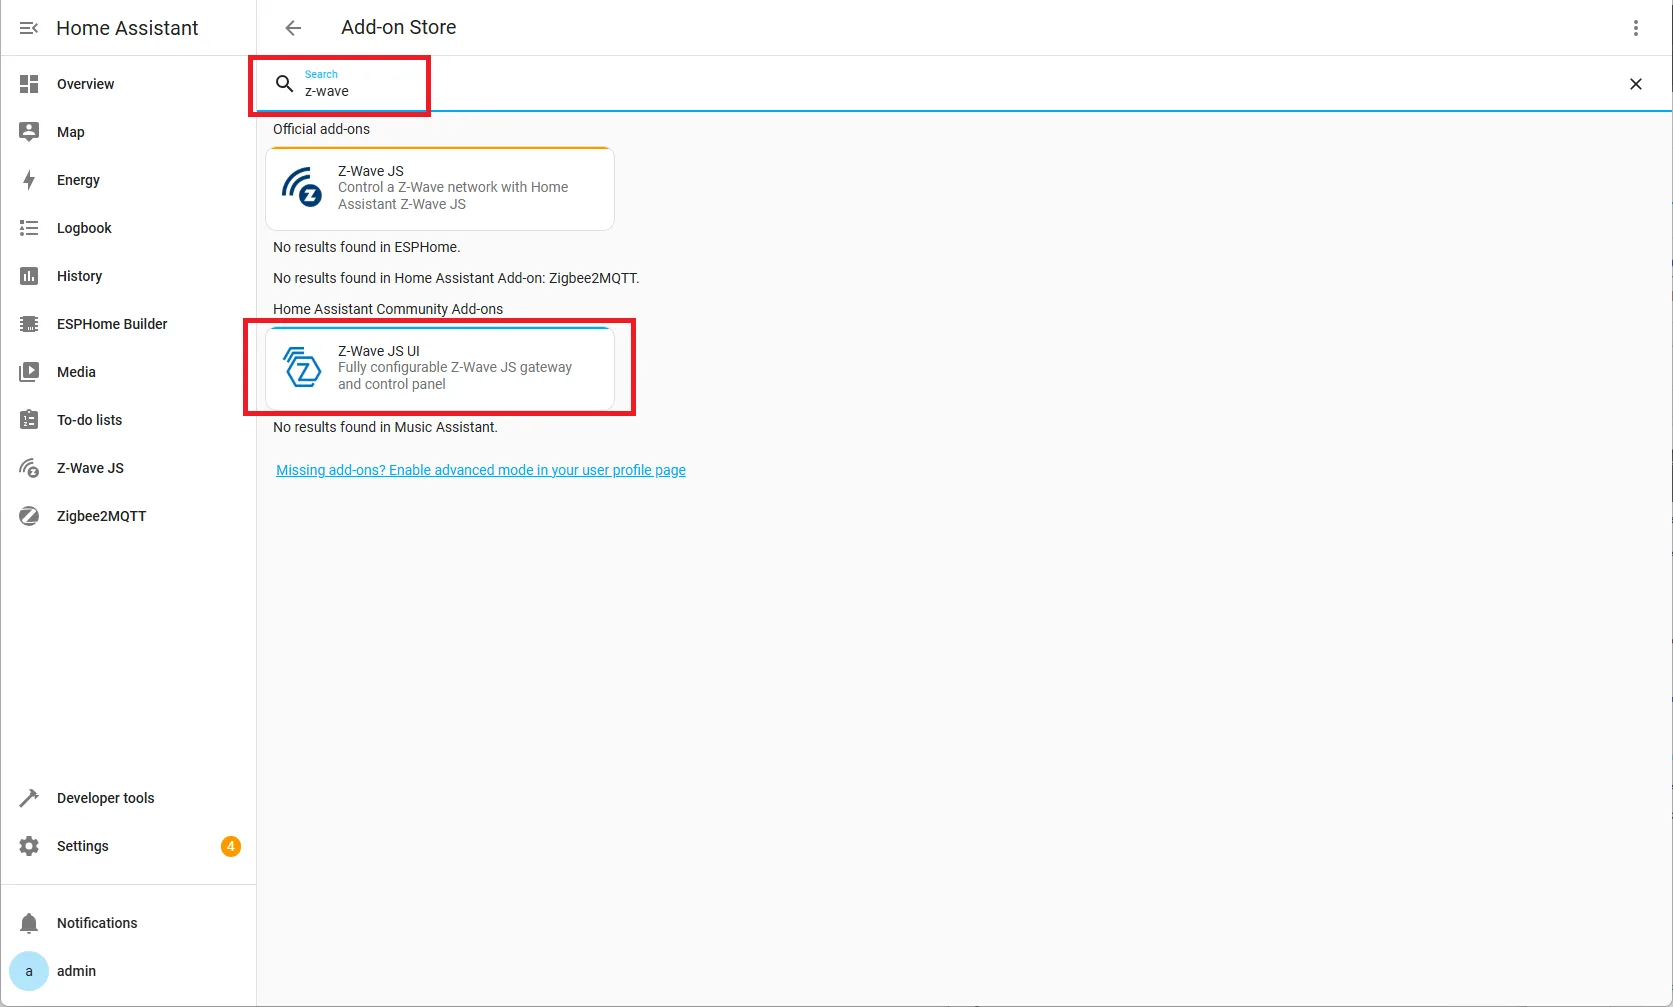
- Locate Z-Wave JS UI in the Add-on Store.
- Click it → Press Install.
- Wait for installation to complete.
2️⃣ Configure the Add-on
🛠️ Step 3: Basic Settings
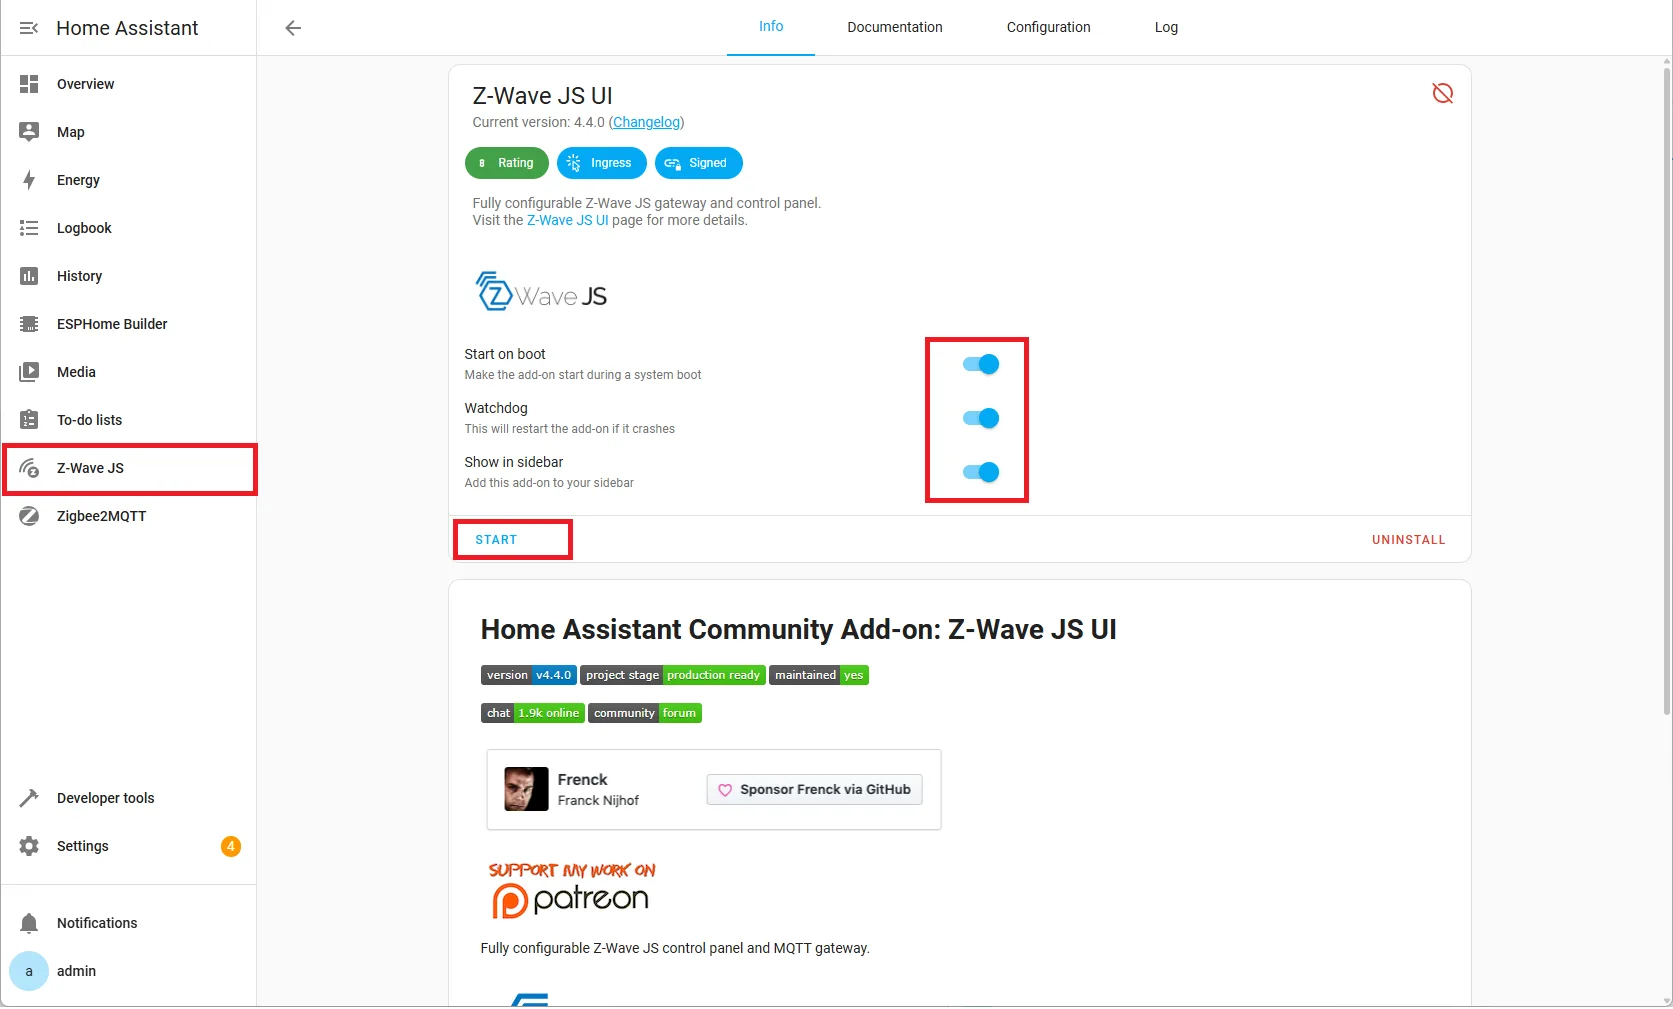
- Enable (optional) Start on boot
- Enable (optional) Watchdog
- Enable Show on sidebar
- Click
Start -
🔌 Step 4: Set the Serial Port and Z-Wave settings
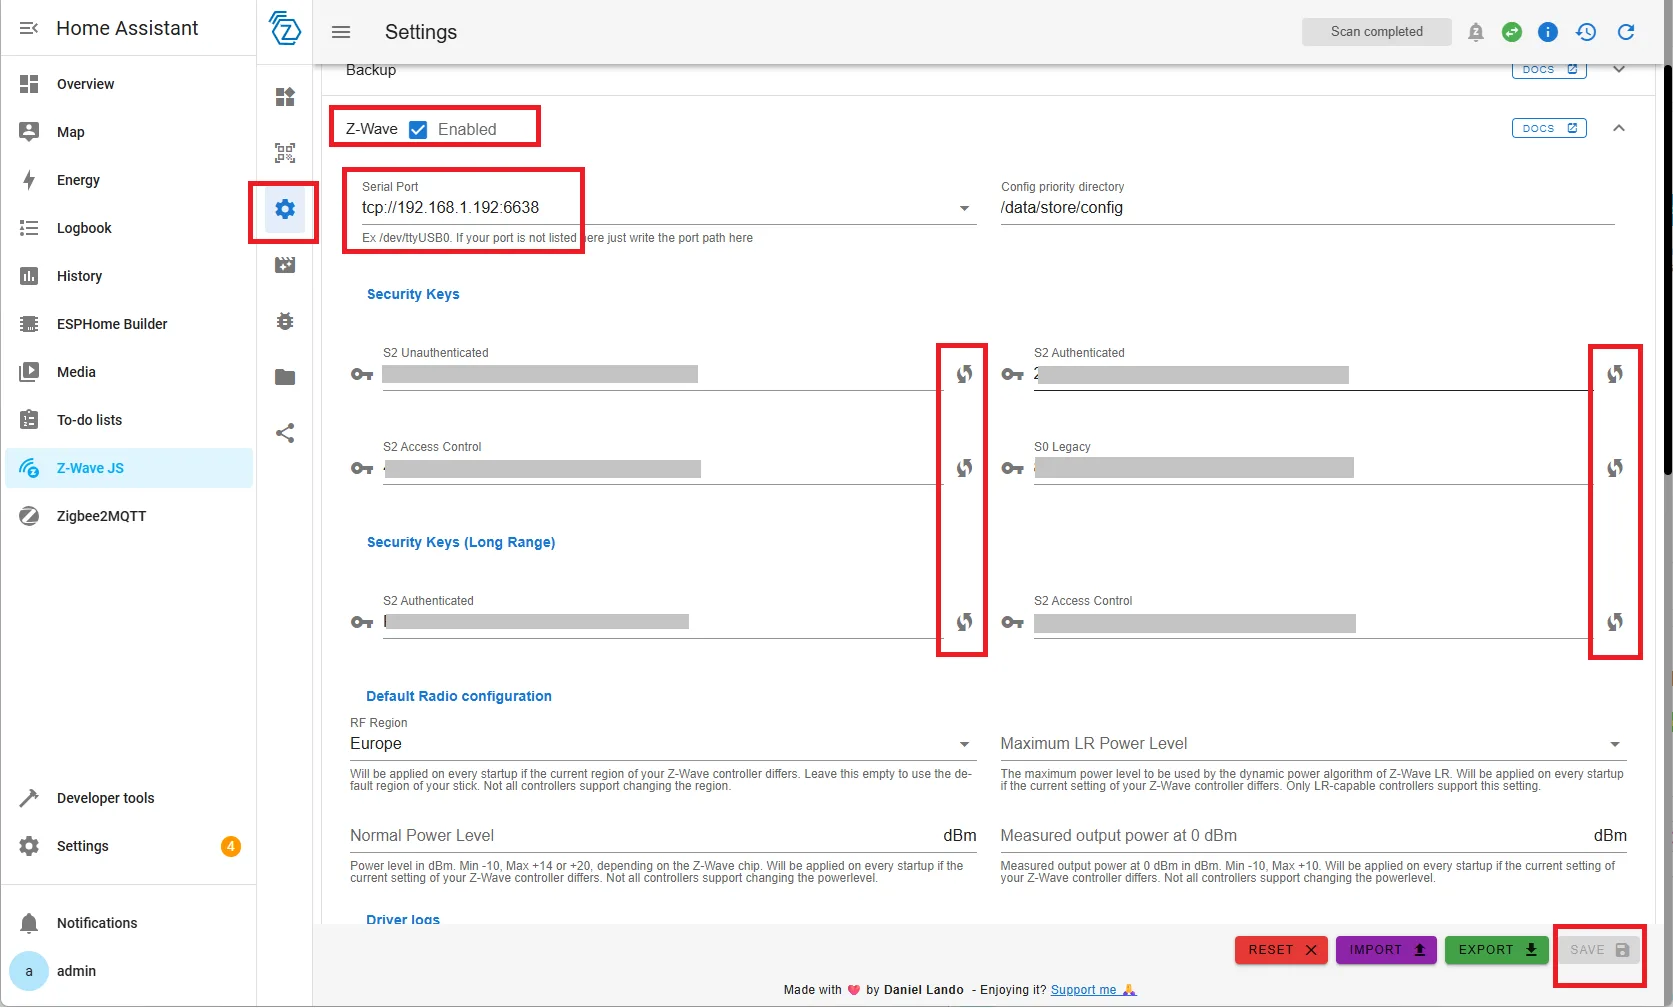
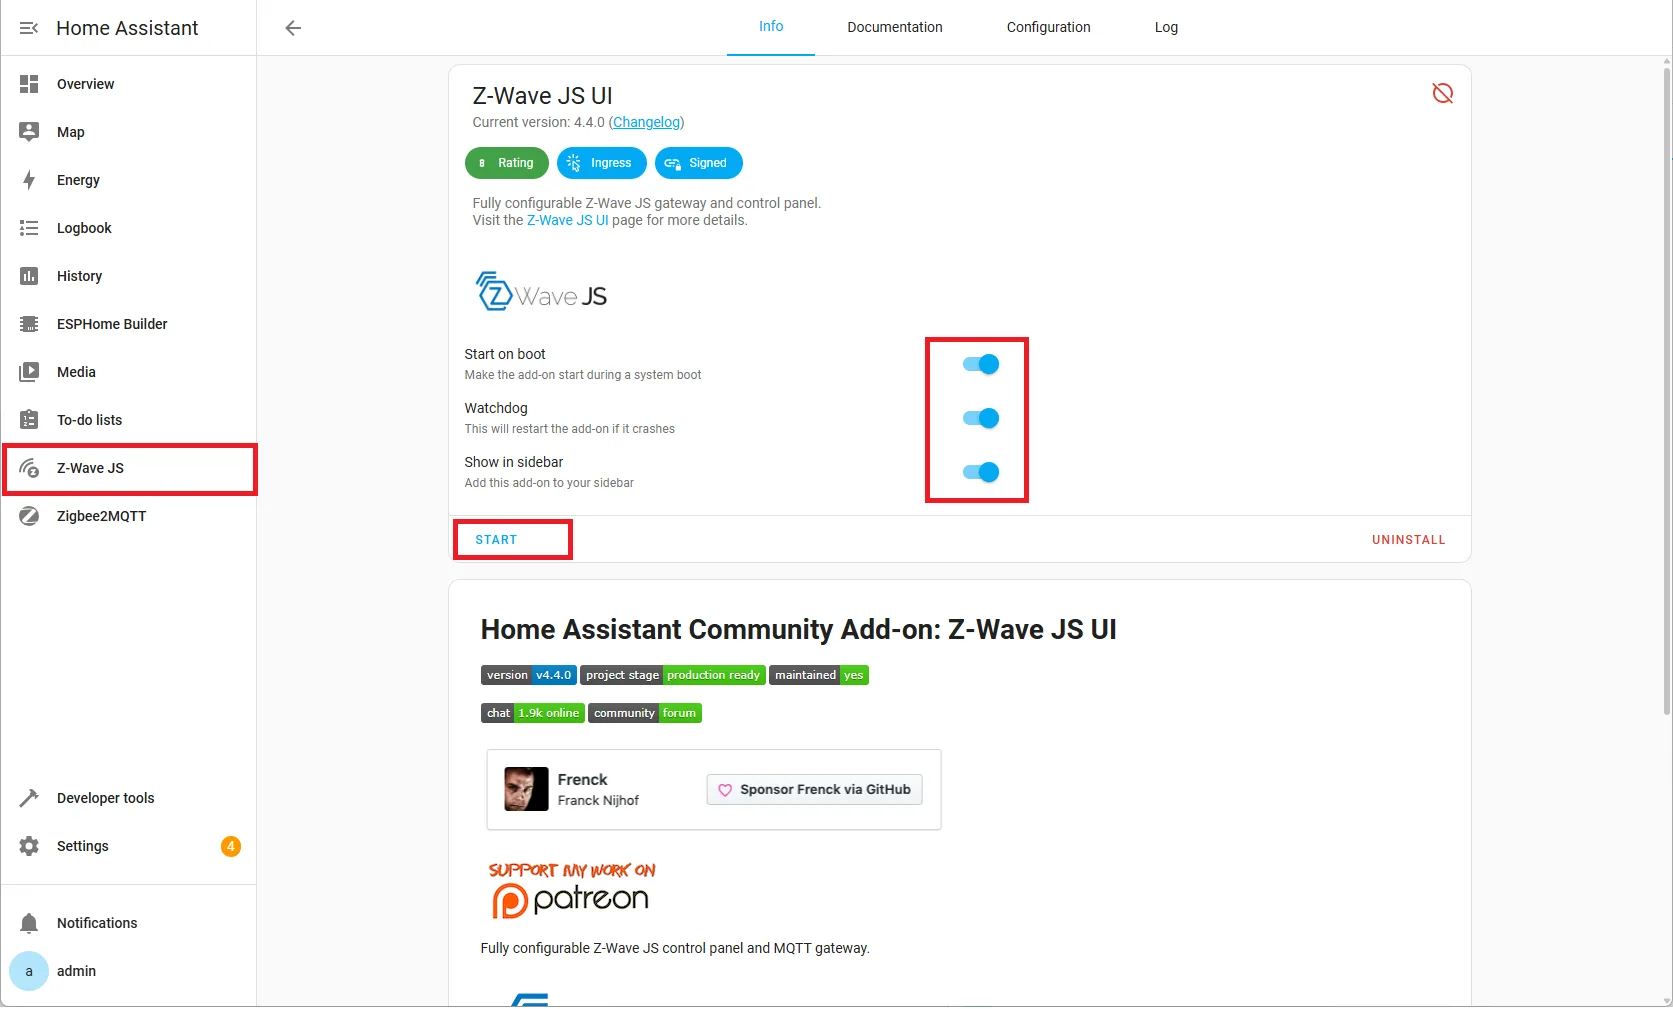
- After Starting, open Z-Wave JS tab in the left menu.
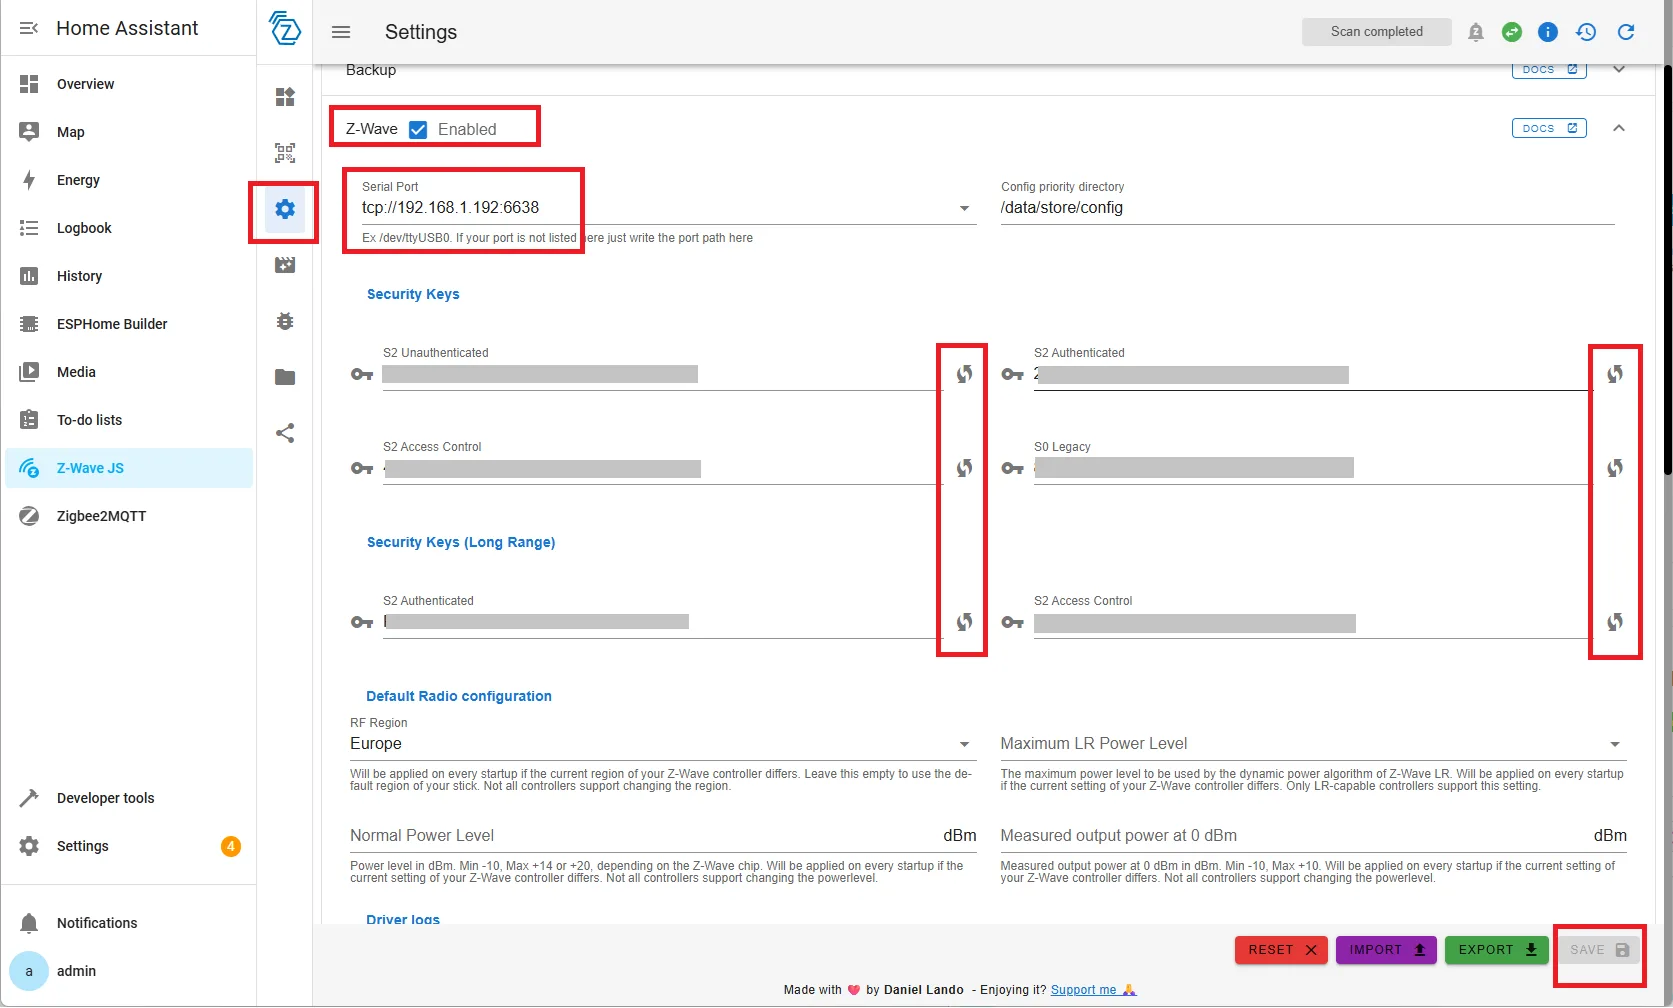
- Click on Setting button.
- Go to Z-Wave list of setting, Enable, enter Seiral port based on template
tcp://IP-ADDRESS:port, generate keys and click Save.
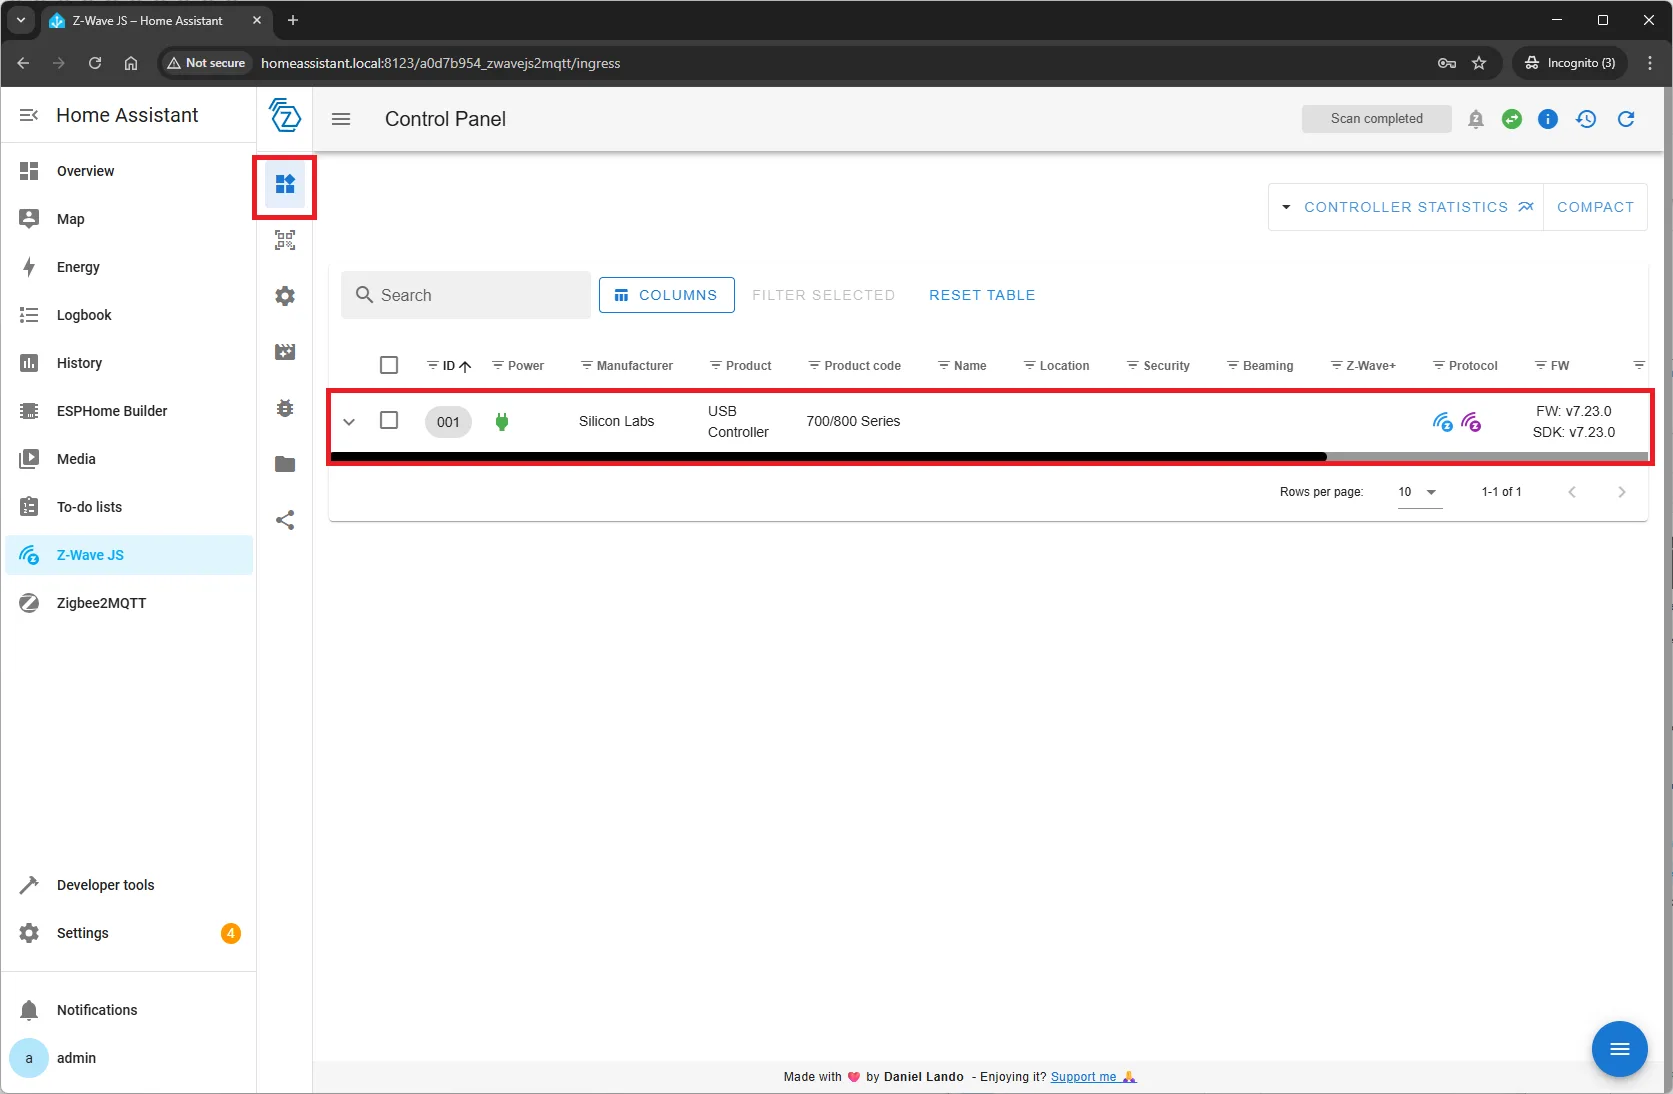
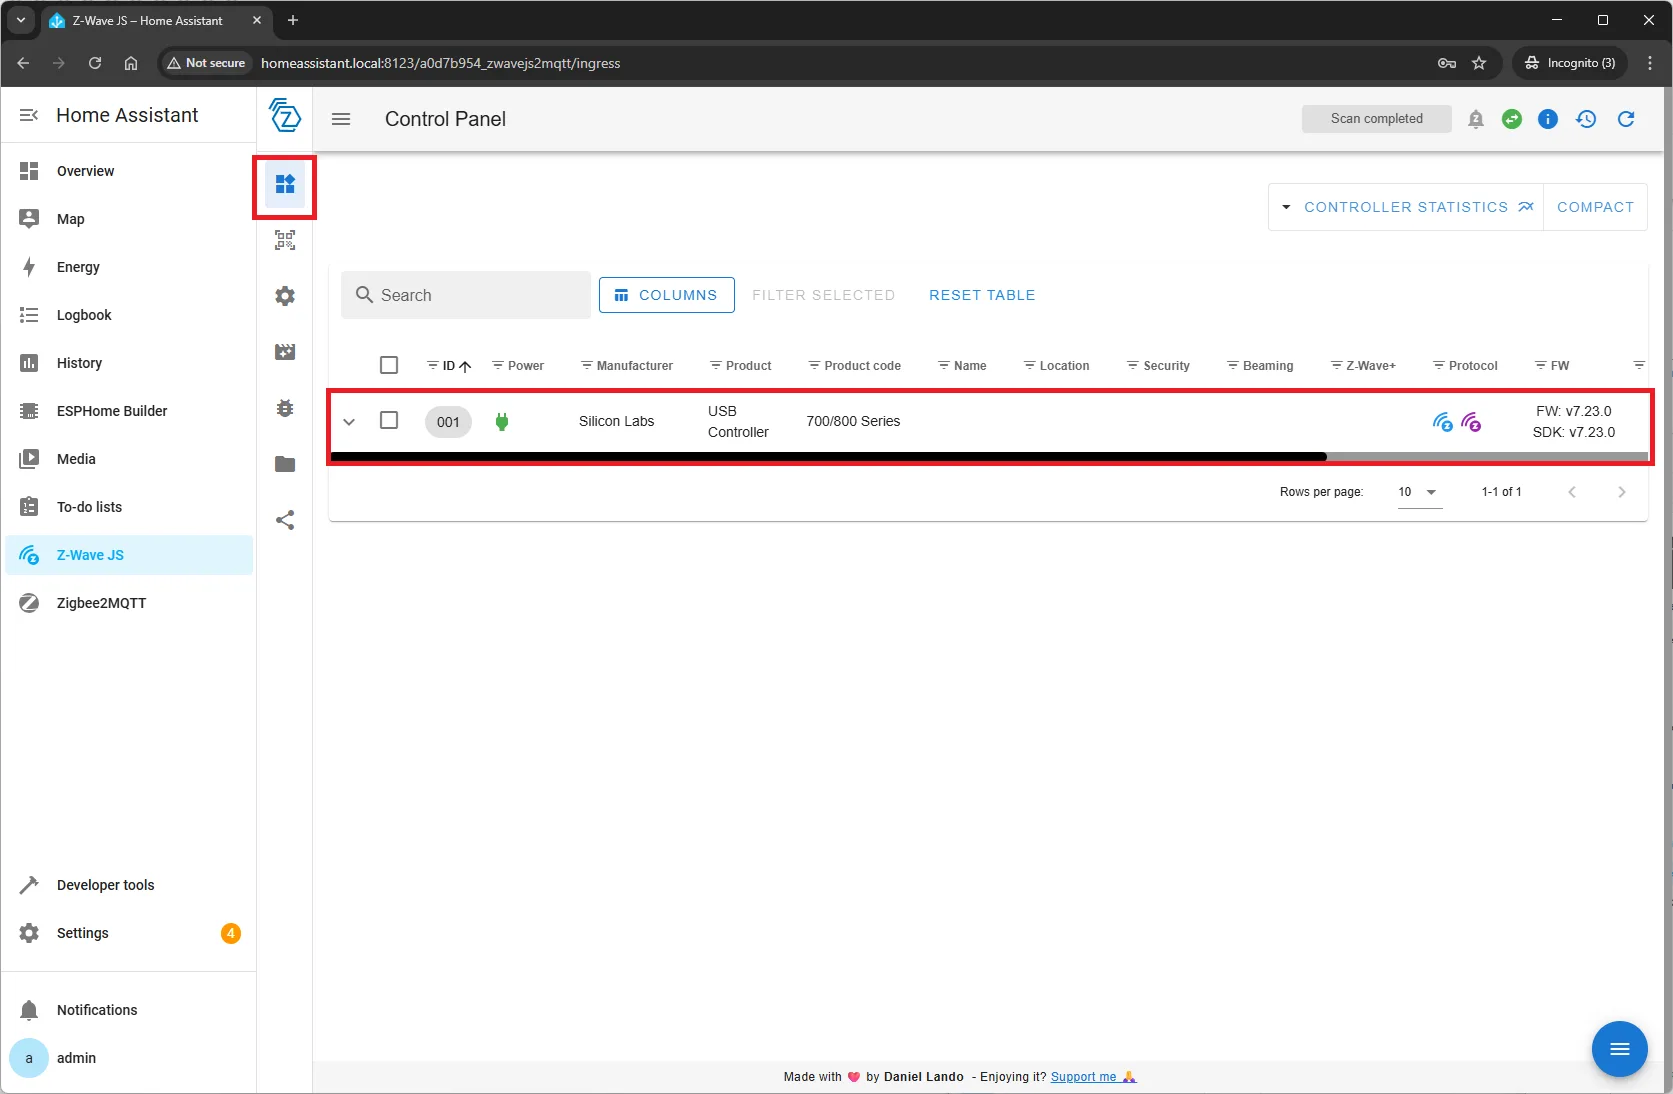
- Go to Z-Wave JS UI dashboard and check that Z-Wave controller was activated.