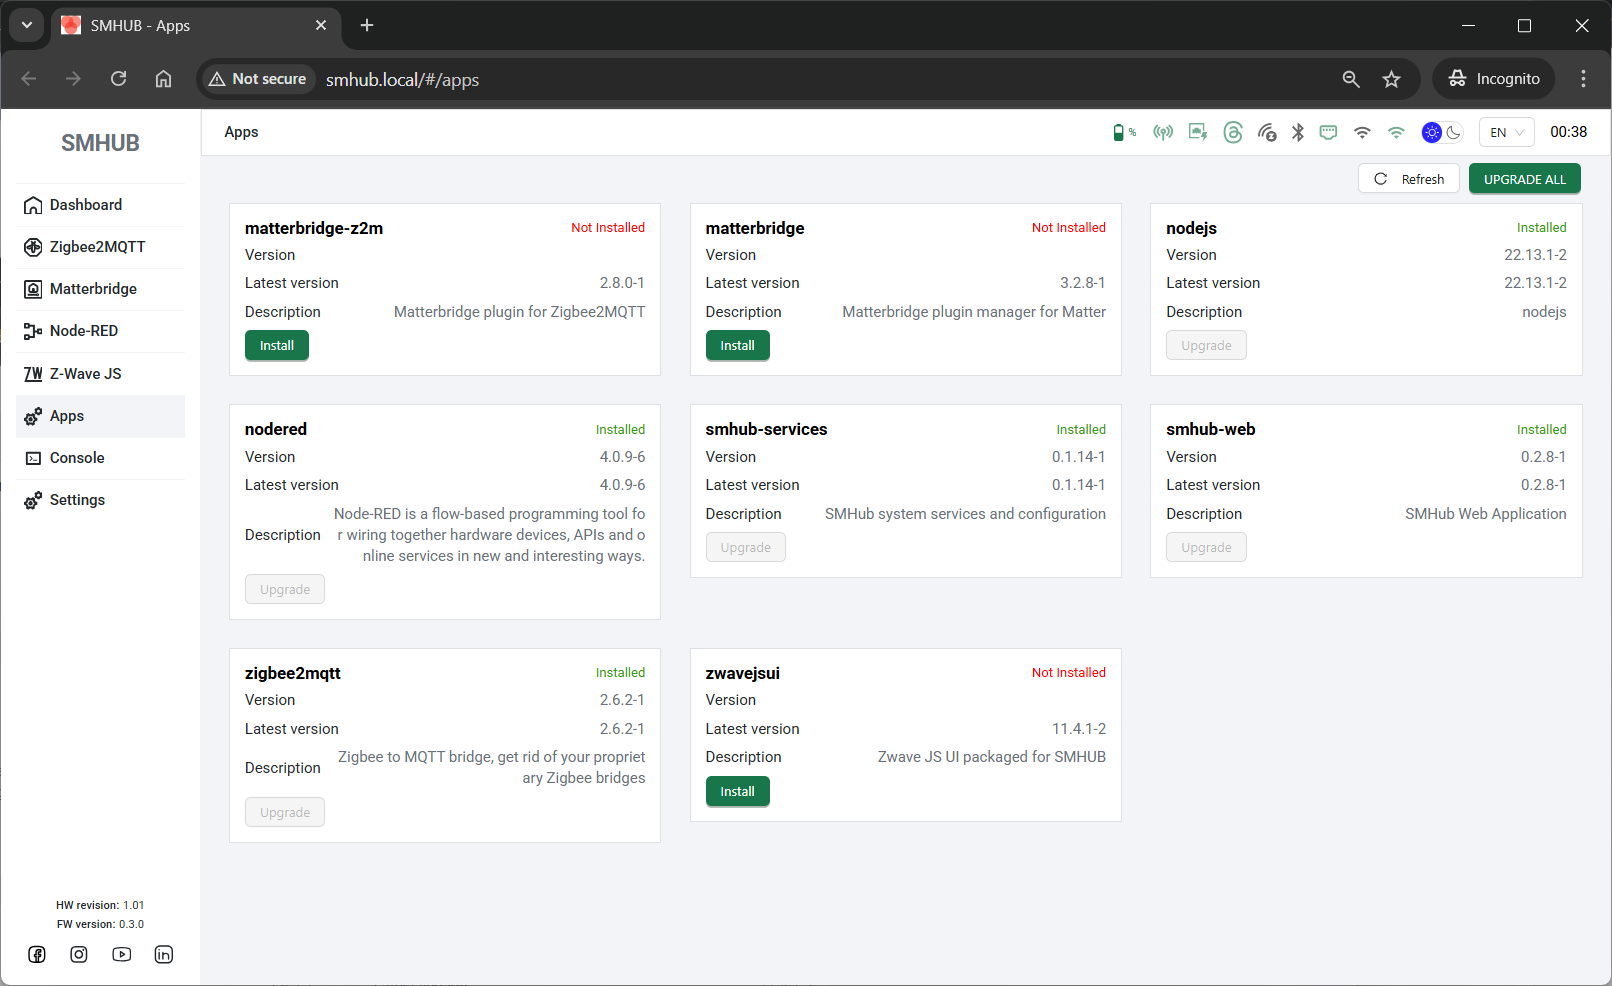
Update/Restore using SD-Card
👉 Download the firmware ZIP from your usual link (latest):
SD-CARD RESTORE FIRMWARE: latest os_v0.3.11 (previous: os_v0.3.10 | os_v0.3.7).
You’ll need:
-
A microSD card (8–64 GB is ideal) + microSD–to–SD adapter if your PC needs it
-
A Windows PC
-
A way to read/write the microSD card (built-in reader or USB adapter)
⚙️ What You’ll Do
-
Download the ZIP file with the firmware
-
Format microSD to FAT32
-
Copy three files from the archive folder ROM onto the root of the card
-
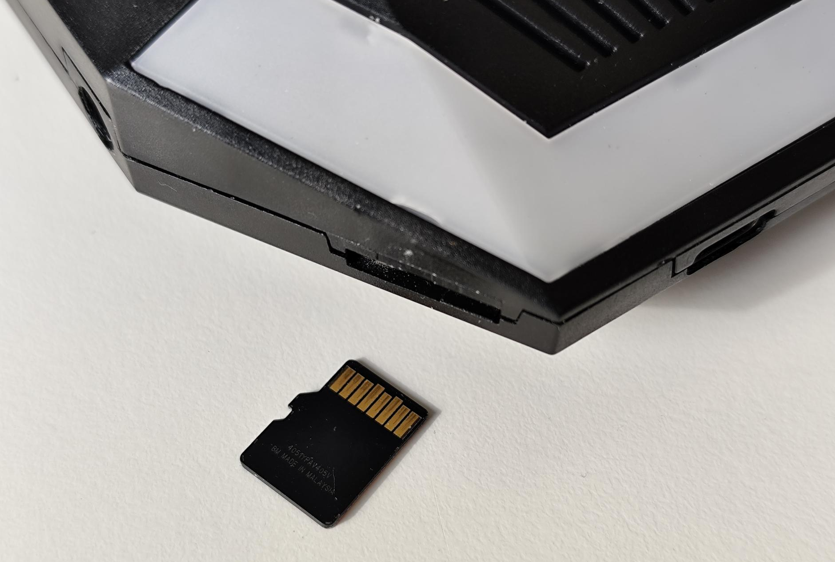
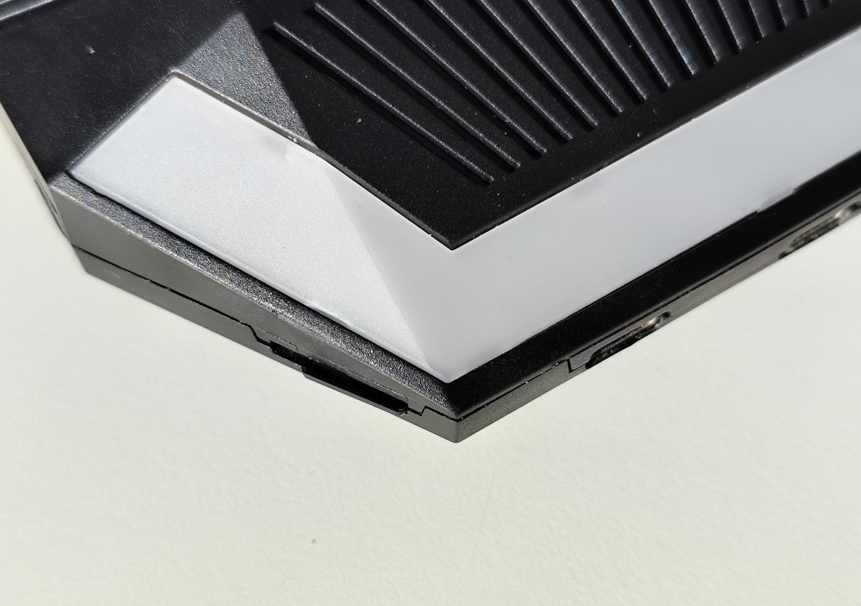
Insert the card into the SMHUB (click fully)
-
Power on → wait ~4 minutes (silent)
-
Power off → remove the card
- Power on → watch LED cues → open smhub.loca
1) Get the firmware and unzip it
-
Click the firmware link above and download the ZIP to your computer (e.g., Downloads).
[screenshot: browser download] -
Right-click the ZIP → Extract All… → choose a simple folder (e.g.,
C:\SMHUB\firmware\).
Inside the unzipped folder, you’ll see these three files in the rom folder. You’ll copy them to the SD card:
-
emmc.img -
fip.bin -
partition_gpt.xml
2) Format the microSD card to FAT32
This erases the card completely. Back up anything important first.
-
Insert the microSD (or SD adapter with the microSD inside) into your PC.
-
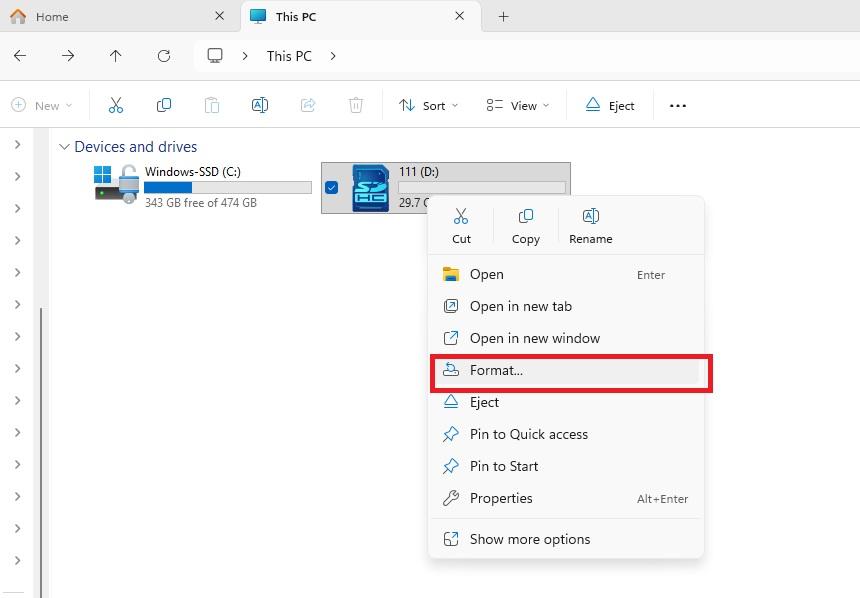
Open This PC (Windows Explorer).
-
Right-click the SD card drive (e.g., “SDHC (E:)”).
-
Click Format….
-
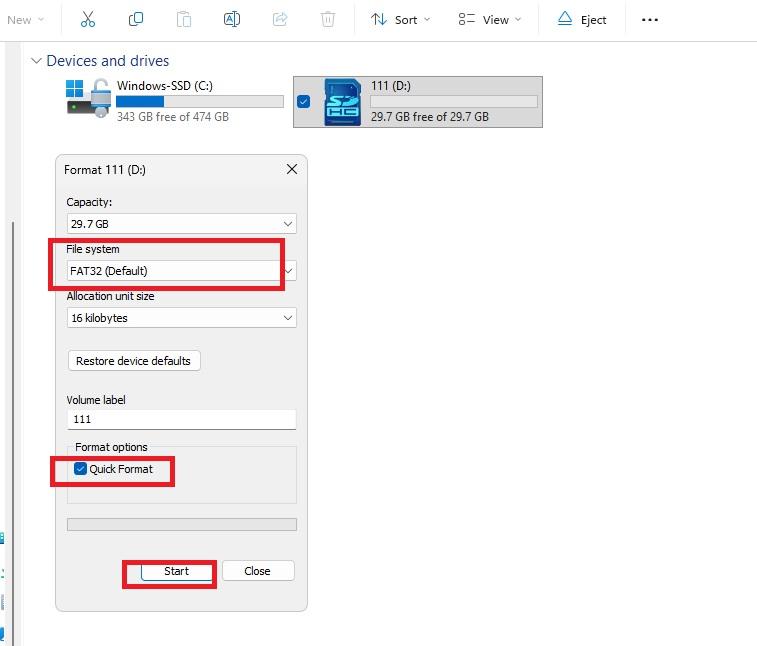
In the Format window:
-
Click Start, then OK/Yes to confirm.
-
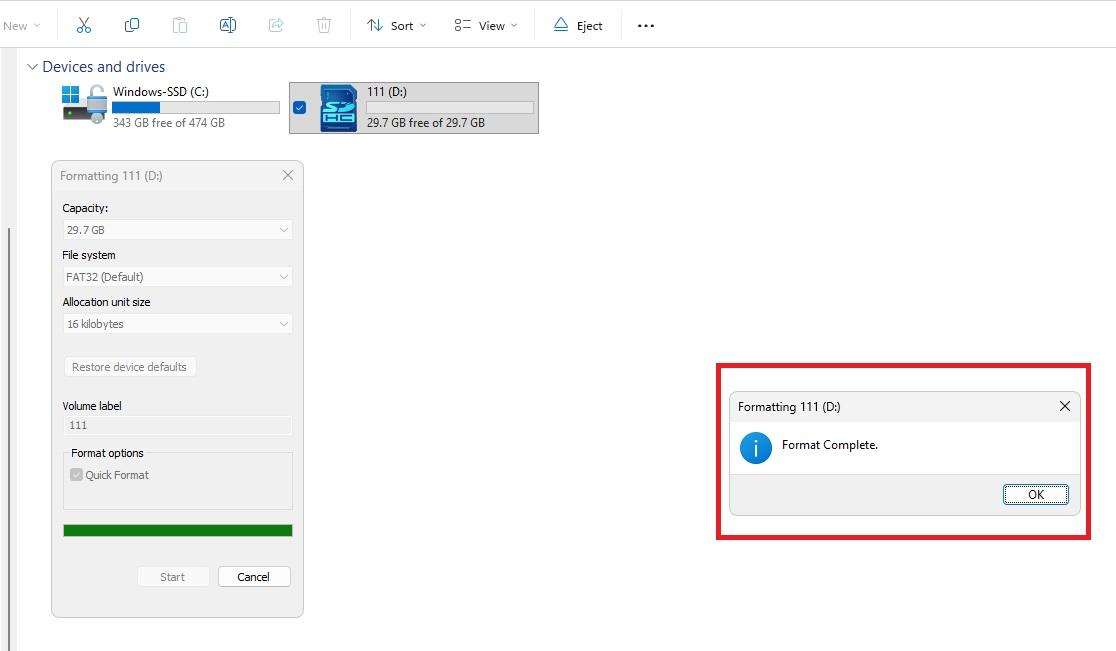
Wait for the Format Complete message → click OK and Close.
Tip: If your SD card is larger than 32 GB and FAT32 isn’t shown, try another (smaller) card. (Advanced users: a third-party FAT32 formatter also works.).
Check the lock switch: If you’re using a full-size SD adapter, make sure the tiny switch on its side is not set to “LOCK.” If locked, Windows won’t let you copy files.
3) Copy the three files to the root of the SD card
-
Open the folder you unzipped earlier.
-
Select these three files:
emmc.img,fip.bin,partition_gpt.xml -
Copy them (Ctrl+C).
-
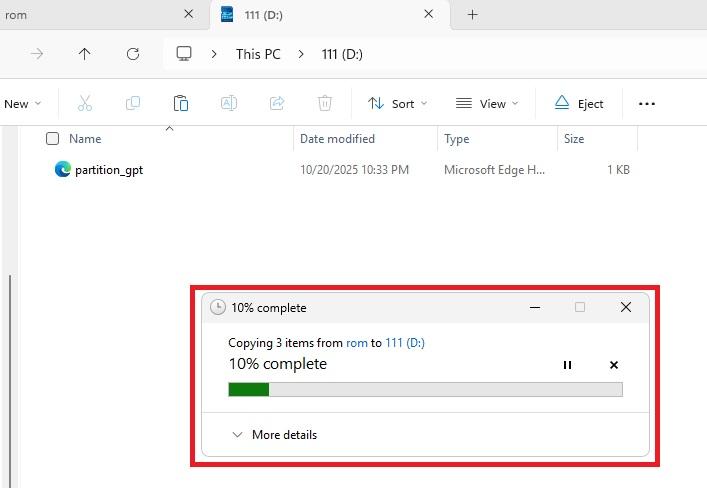
Open your SD card drive in This PC and Paste (Ctrl+V).
-
When copying finishes, right-click the SD card drive → Eject → remove the card.
4) Insert the microSD card into the SMHUB
-
With the SMHUB powered OFF, insert the microSD into the slot.
-
Push until you feel a “click.” It must be fully seated.
5) Power ON and wait ~4 minutes until completion
-
Connect power to the SMHUB.
-
The device will automatically and silently flash itself from the SD card.
-
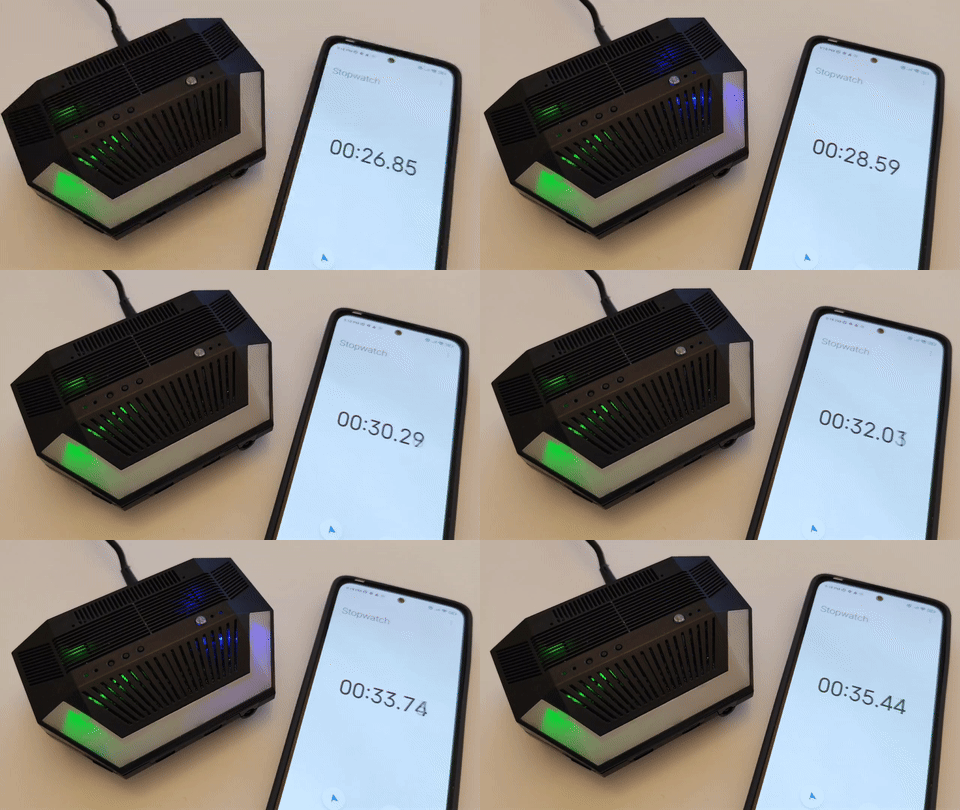
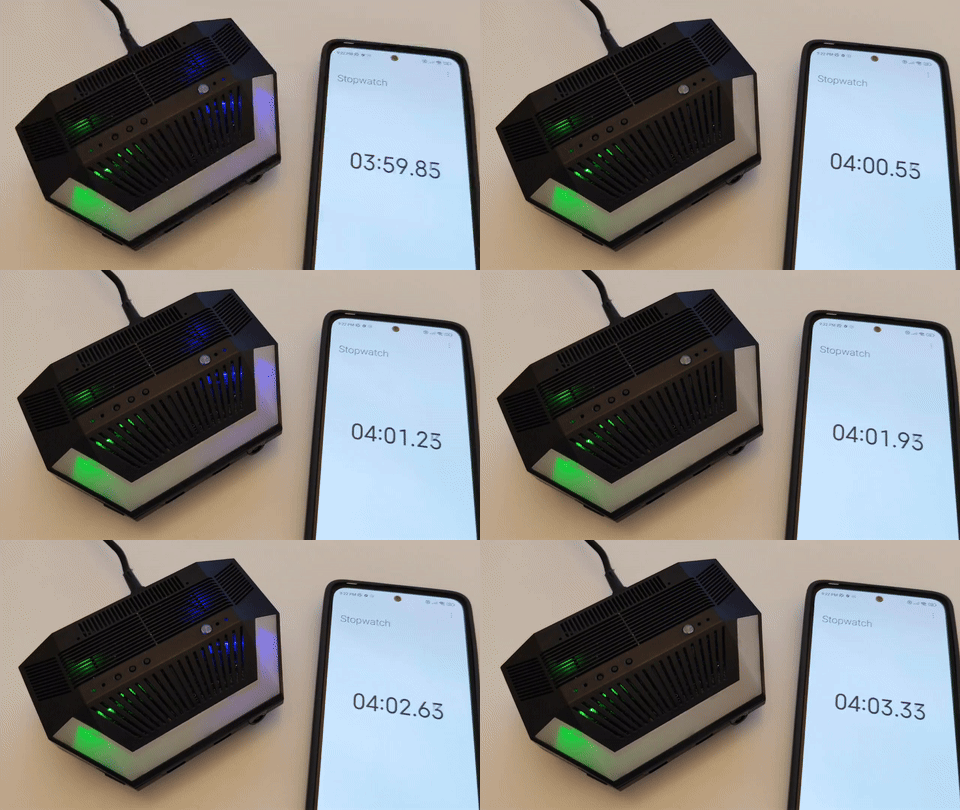
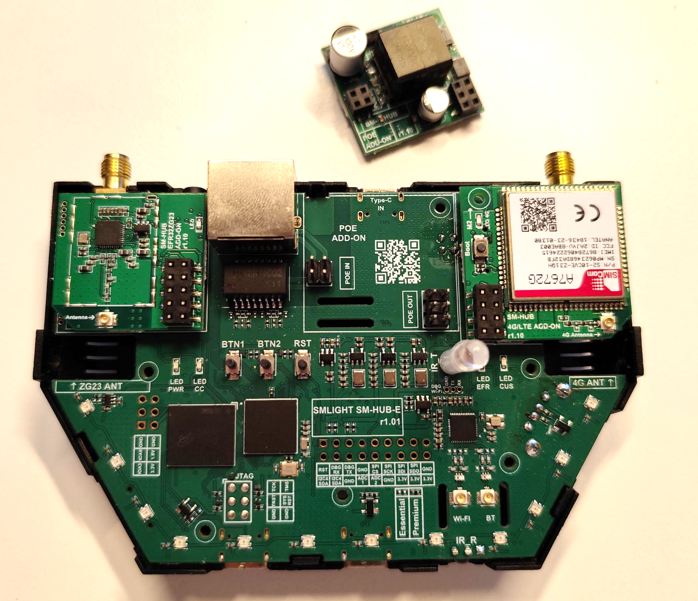
The blue LED (located near the IR transmitter) will begin blinking slowly (approximately once every 2 seconds), indicating that the flashing process has started. Please note that LED indications during SD-card flashing are available only starting from firmware 0.3.1-dev2 (24 Oct 2025).
-
Once the process is complete, the same blue LED will start blinking faster (about 3 times per second). This means the flashing was successful. You can now disconnect the device from power (fully disconnect it — do not simply reboot). There is no need to power it on again with the SD card inserted, as the flashing process would otherwise start again.
-
5-b) IF THE FLASHING PROCESS DOES NOT START
In some cases, removing the PoE add-on may help to start the flashing process successfully. If your device does not start flashing using either the Type-C or SD-Card method, please follow the steps below:
-
Open the enclosure (no screwdrivers are required, as the enclosure is screwless).
-
Physically disconnect the PoE add-on.
- To be even more secure, please remove 4G and Z-Wave addons if you have them installed.
-
Start the flashing process again.
Try to boot without the add-on first. Once the device flashes and boots successfully, you can reinstall the add-on.
6) Power OFF and remove the SD card
-
After ~5 minutes, power OFF the SMHUB.
-
Remove the microSD card.
⚠️ Important: If you leave the SD card in and power on, the SMHUB will start flashing again. Always remove the card before the next boot.
7) Power ON again and watch the LEDs (readiness)
Boot the SMHUB without the SD card:
First start takes longer than subsequent boots. This is normal.
When the SMHUB starts up after flashing, the LEDs show you exactly what’s happening.
Here’s what to watch step by step:
-
Power ON indicator:
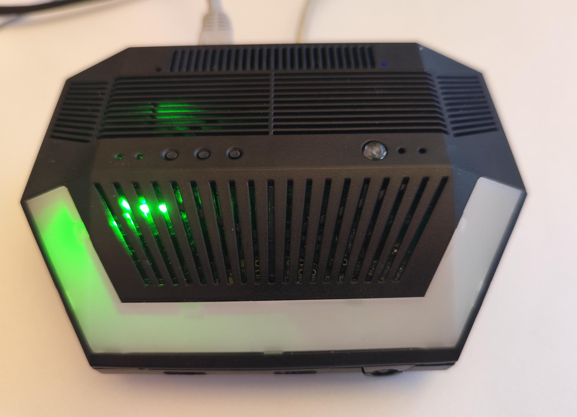
As soon as you plug in the SMHUB, the small green LED near the buttons (not the Ambilight LEDs) turns ON.
→ This simply means the device is receiving power. If you can't power your device - check this bug. -
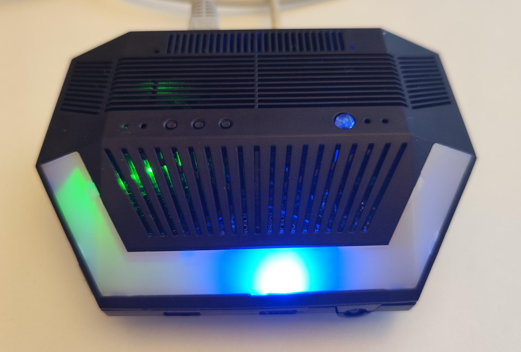
Blue chase effect (Ambilight):
Right after powering on, you’ll see a moving blue light (chase effect) running around the Ambilight LEDs.
→ This means the system is booting — please wait.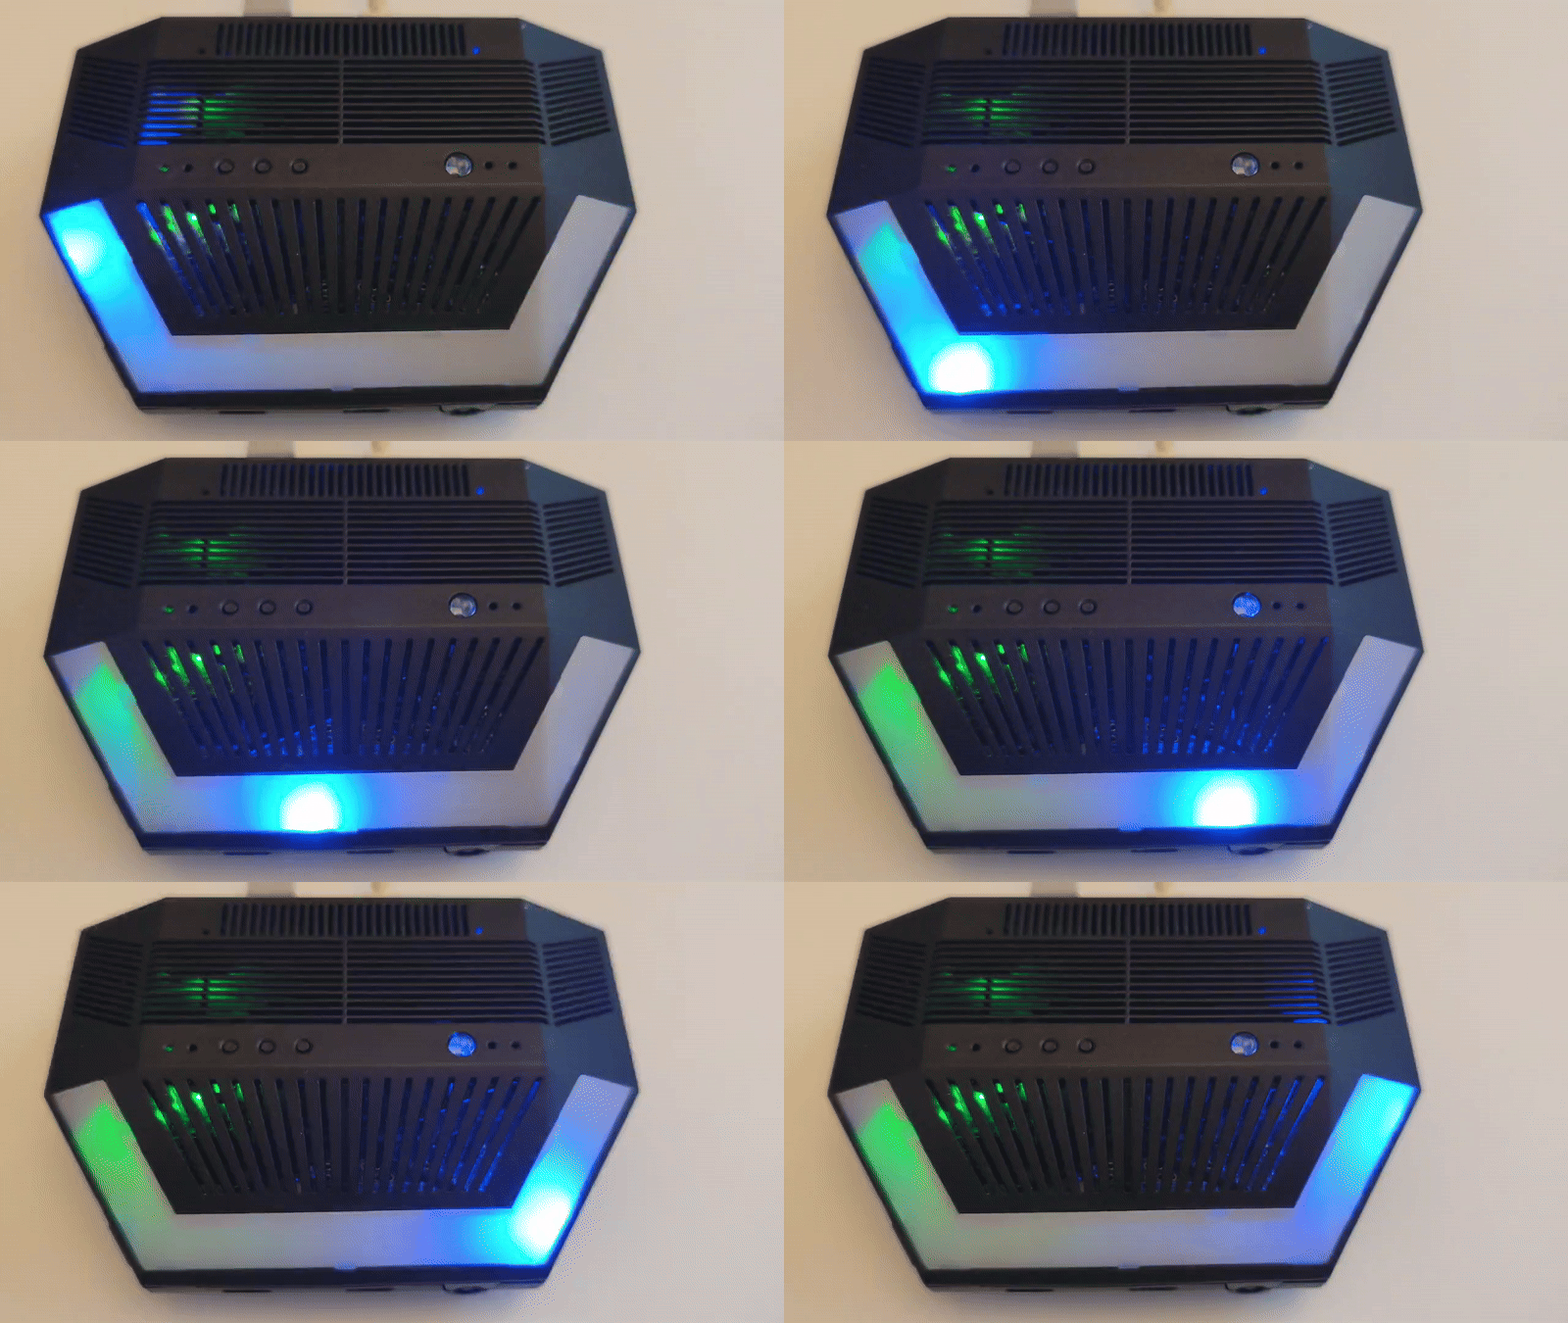
-
Blue effect stops:
When the blue chase effect stops, it means the core system has finished booting and SSH access is available.
→ From this point, advanced users can connect via SSH if needed.
-
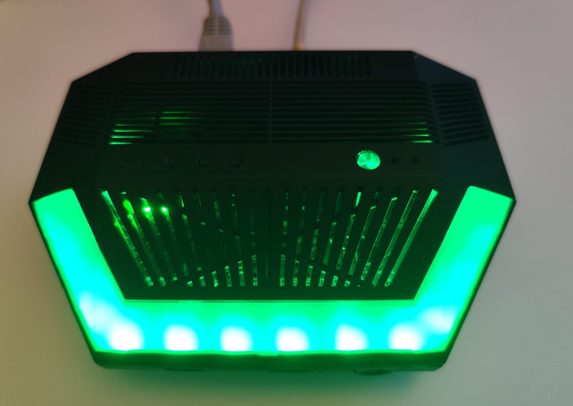
Green Ambilight turns on:
After a short delay, all green Ambilight LEDs will light up at once.
→ This means that Web UI and all apps are fully loaded and ready to use.
The green lights will stay on for about 1 minute, then turn off automatically.
💡 In simple words:
Blue moving lights = starting up
Blue stops = system ready for SSH
Green lights = Web interface ready to use
8) (Optional) Quick post-flash checks
Web UI:
SSH (from Windows using built-in OpenSSH or PuTTY):
-
Hostname:
smhub.local(or your device’s IP) -
Username:
smlight -
Password:
smlight
Troubleshooting (quick)
-
Nothing happens after power on?
Ensure the three files are on the root of the SD card, card is FAT32, and the card was fully clicked in. -
Flashing loops every time I power on?
You forgot to remove the SD card. Power off, remove card, then power on. -
Web UI not loading yet?
Wait for the green Ambilight LEDs. Blue stopped = SSH ready; Green on = Web UI ready. -
Card won’t format / no FAT32 option?
Try a smaller card (8–32 GB is easiest) or a different PC card reader.

